Brakes, Slider, Pilot-Chute
Main Canopy Attachment:
( click to enlarge pics)
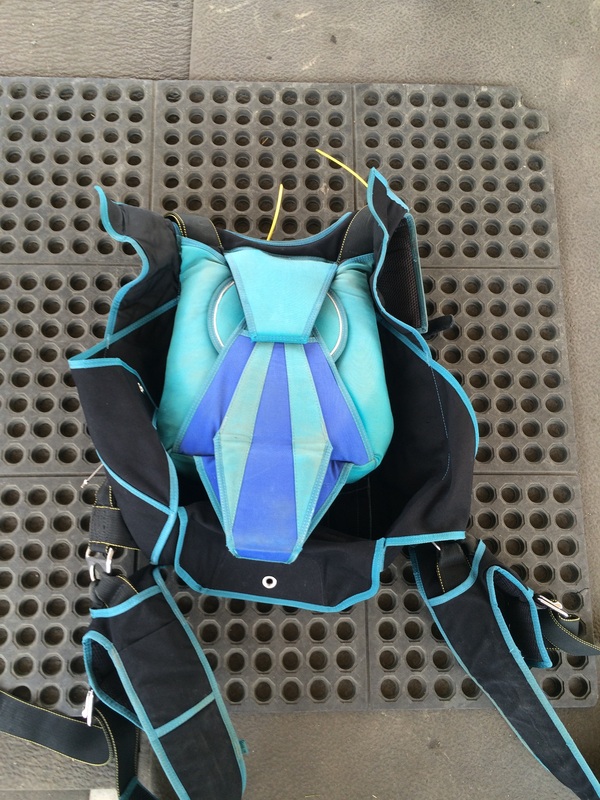
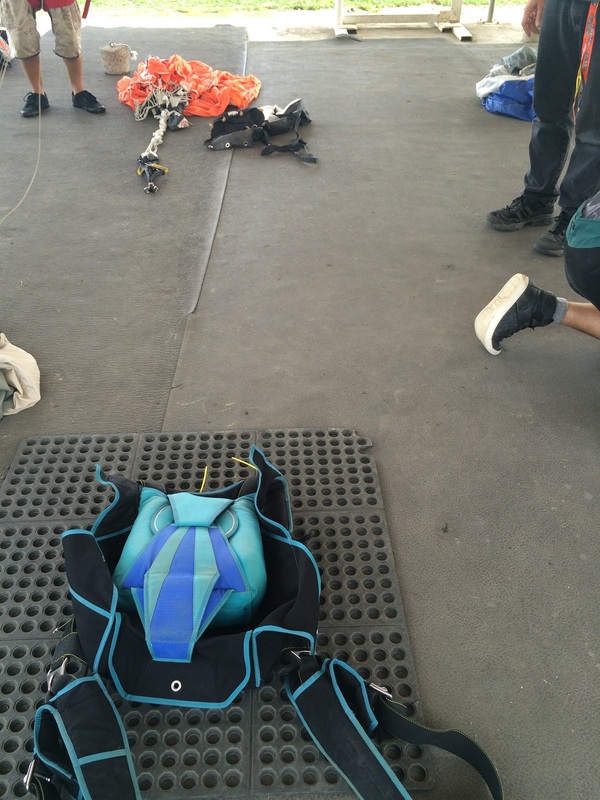
lay rig face-down
drop canopy about 10-12ft away
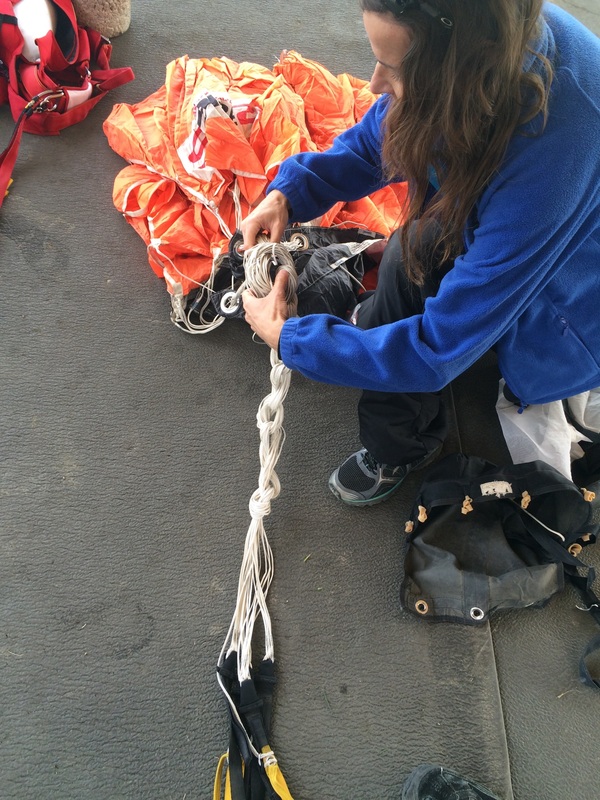
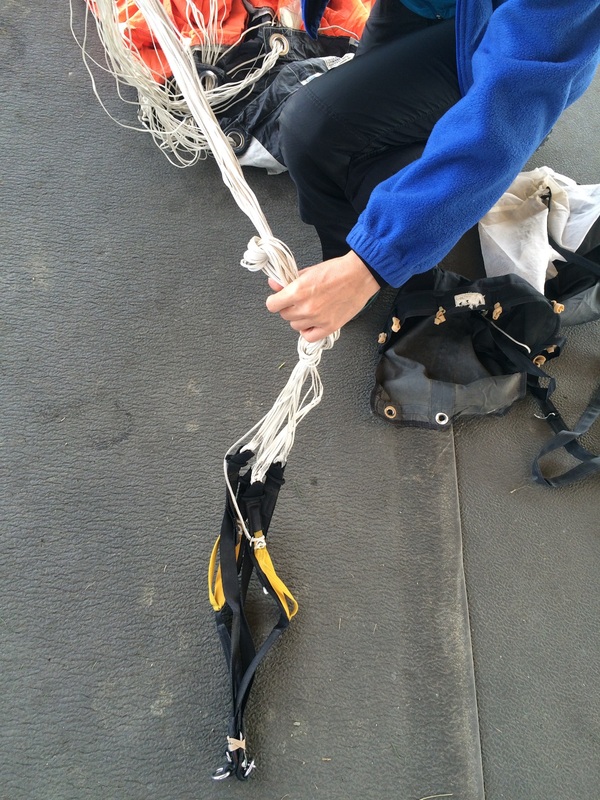
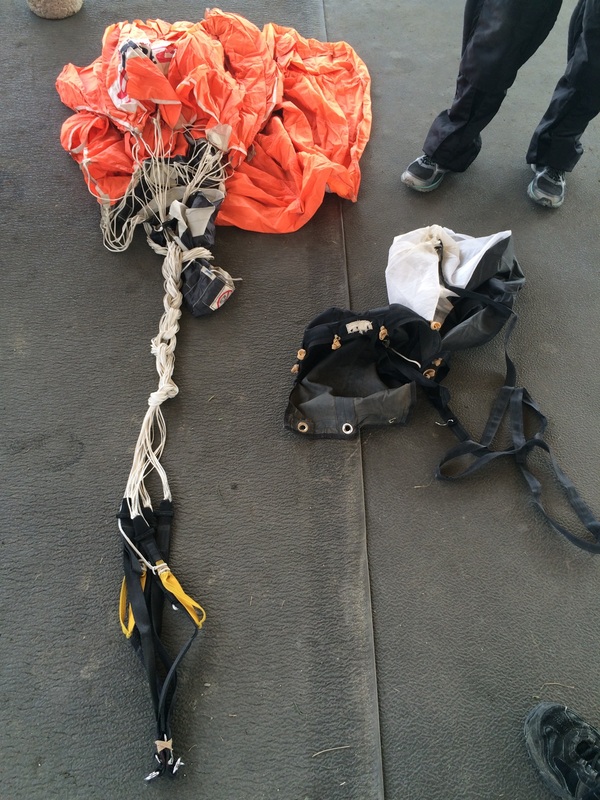
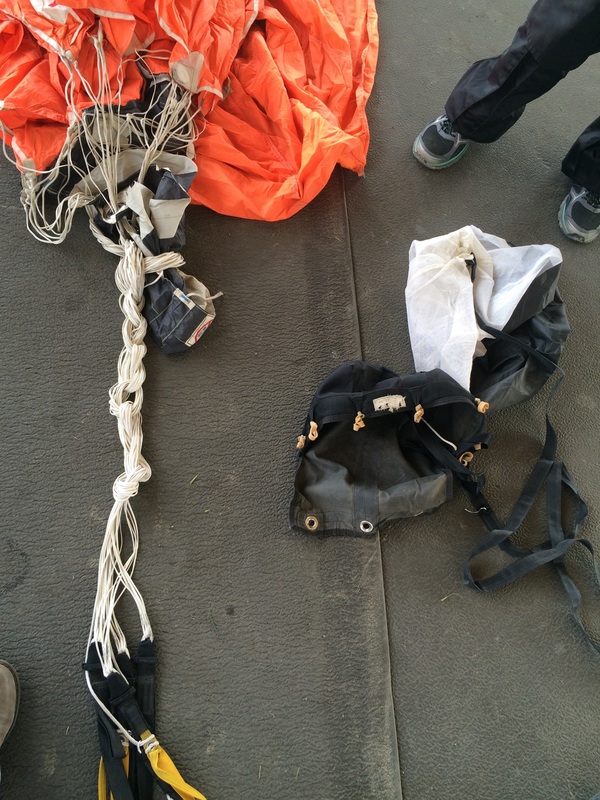
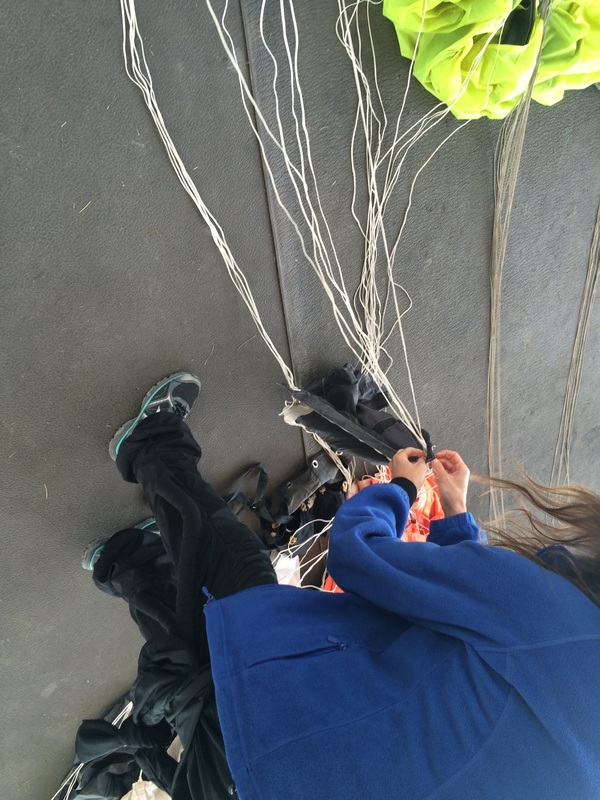
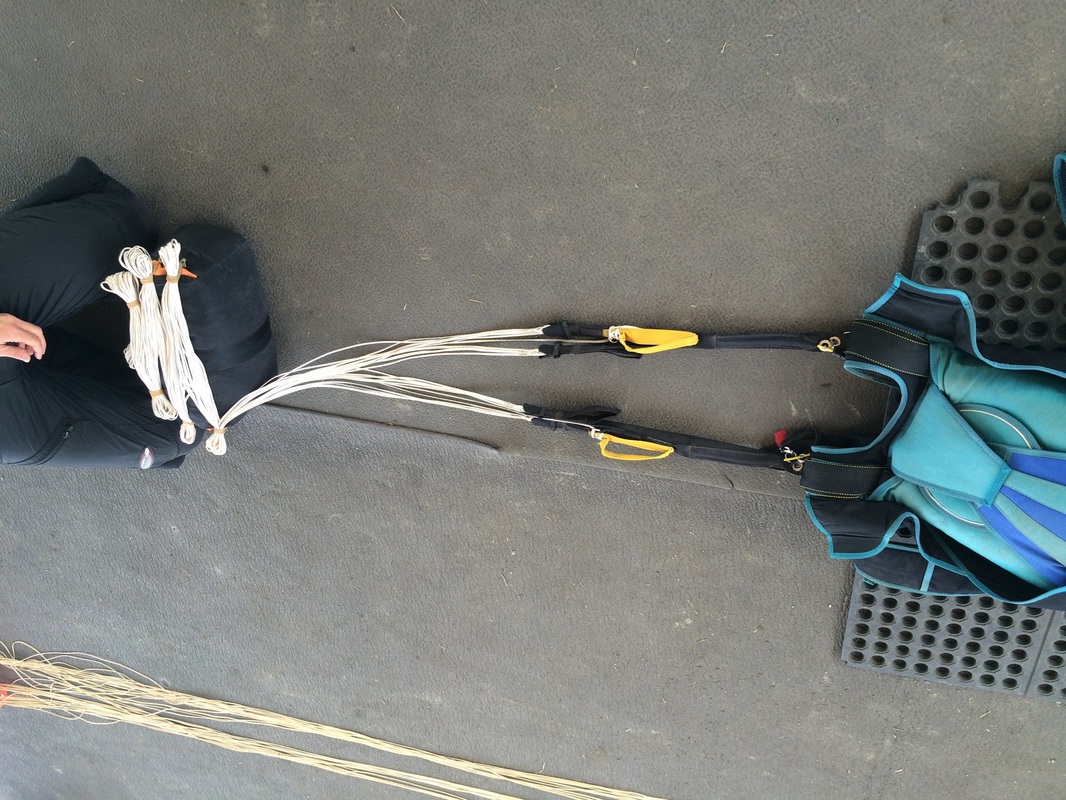
un-chain the lines and stretch them toward the rig
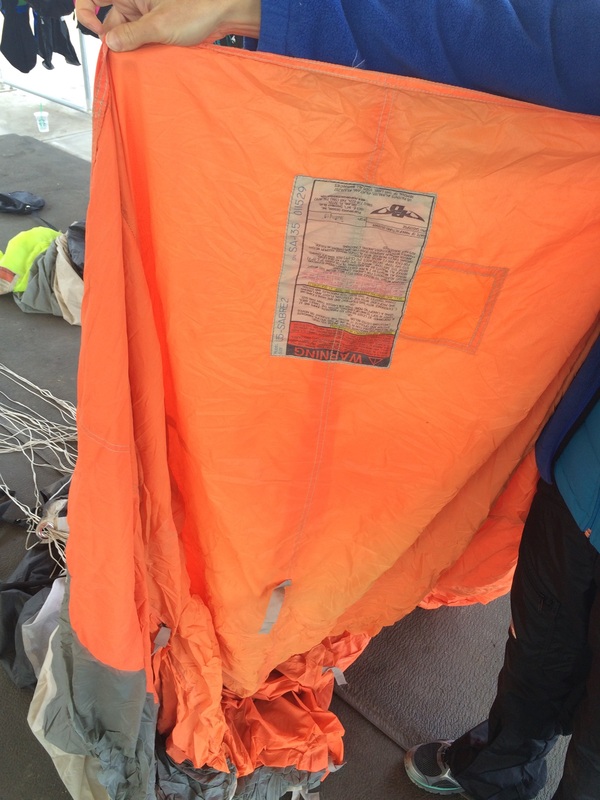
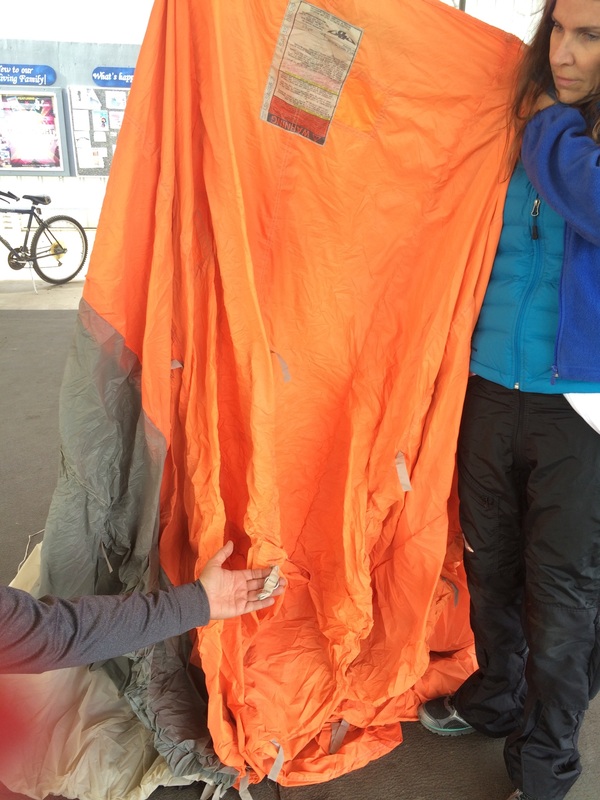
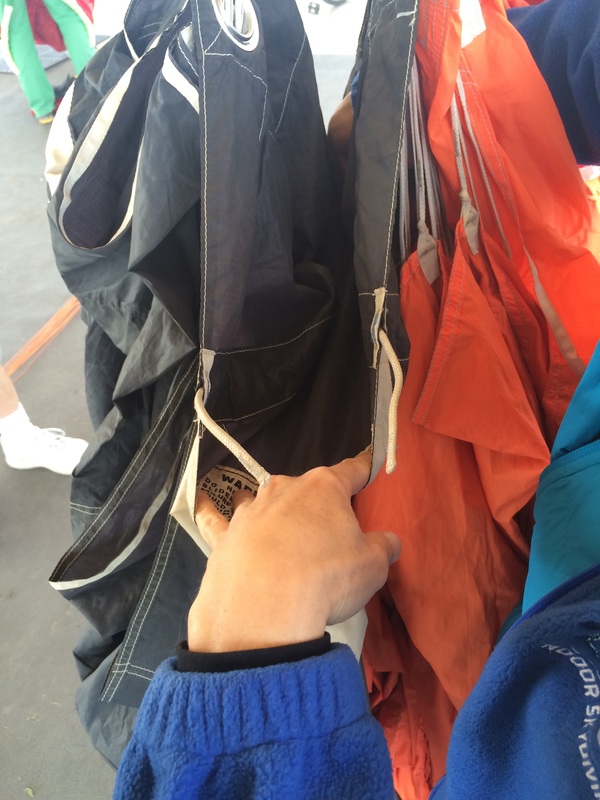
find the center of the tail of the canopy (label)
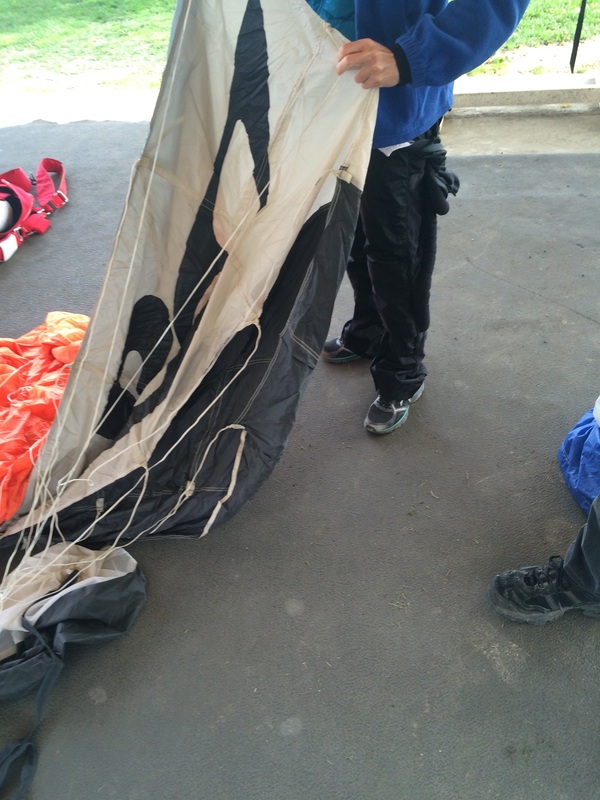
follow the tail to a brake-line
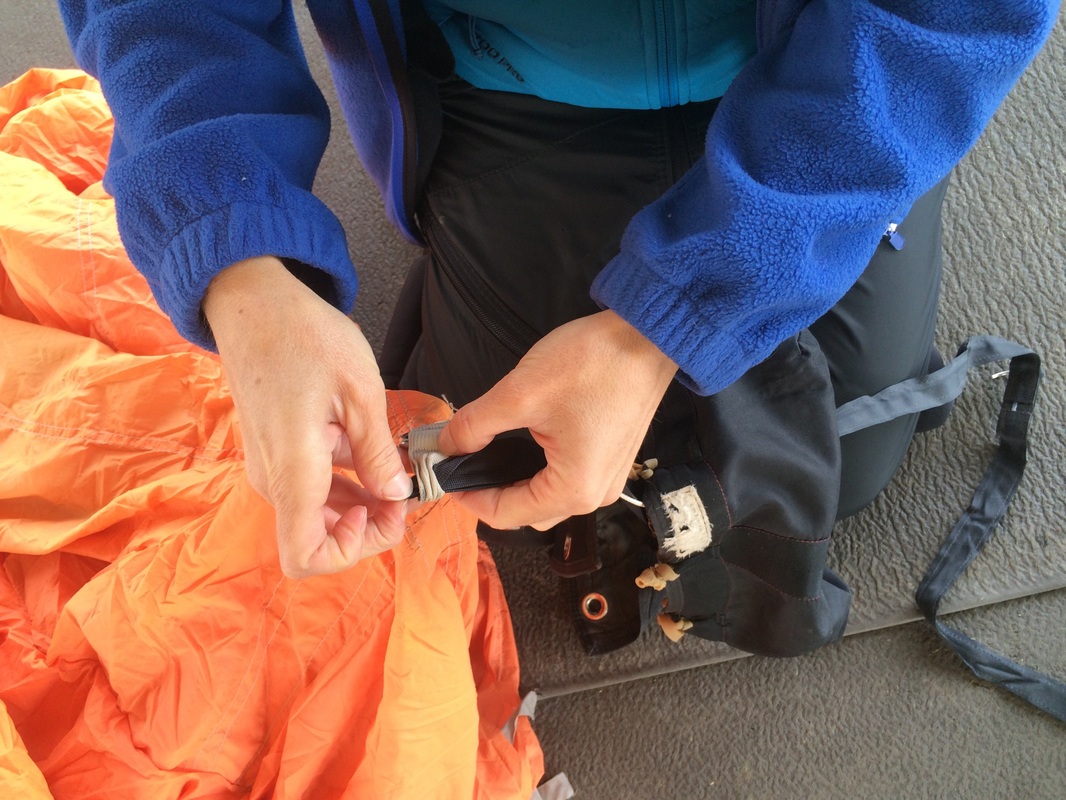
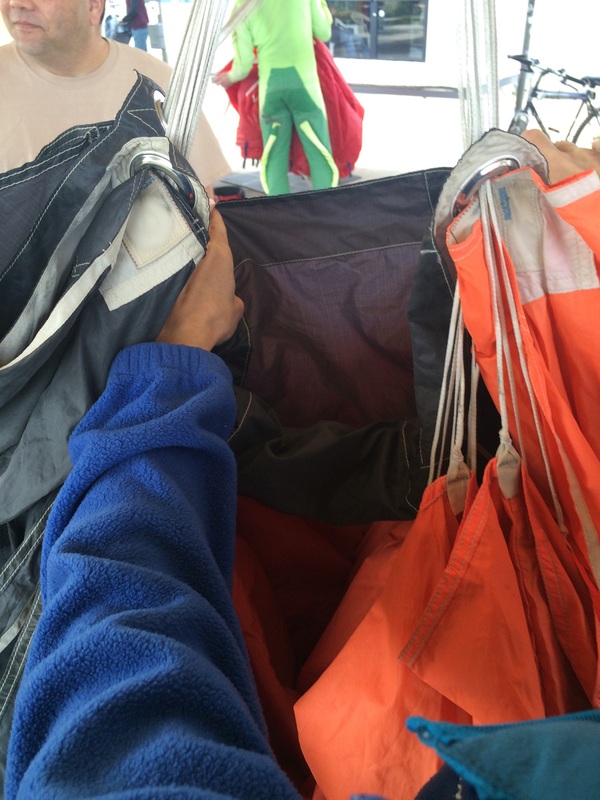
keeping the brake-line on top, follow it to the riser, untangling as you go


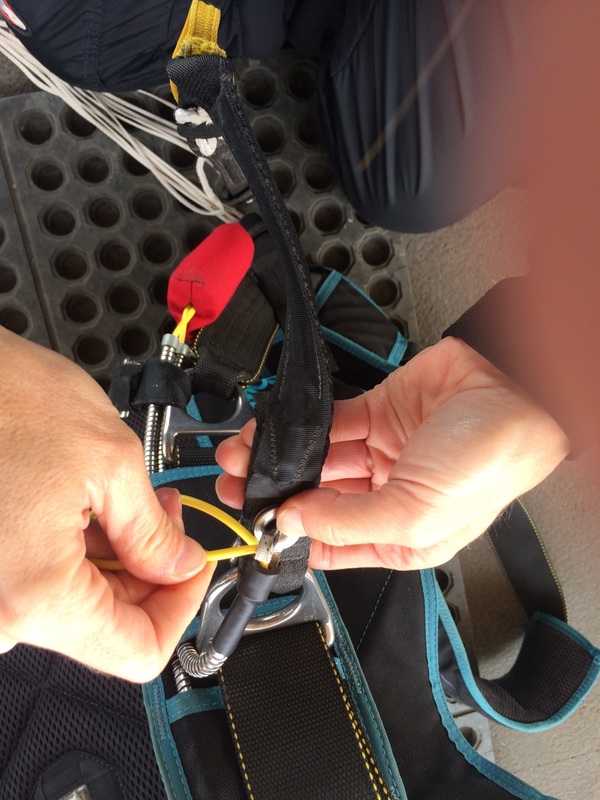
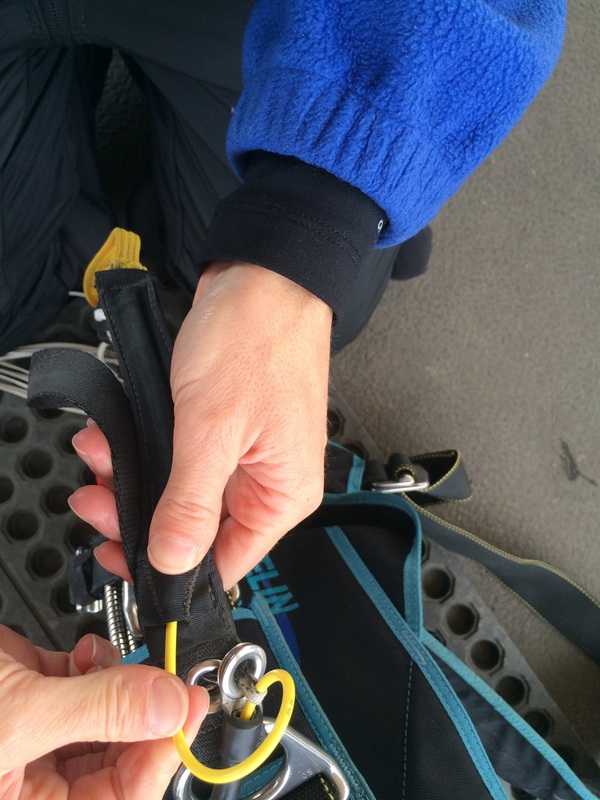
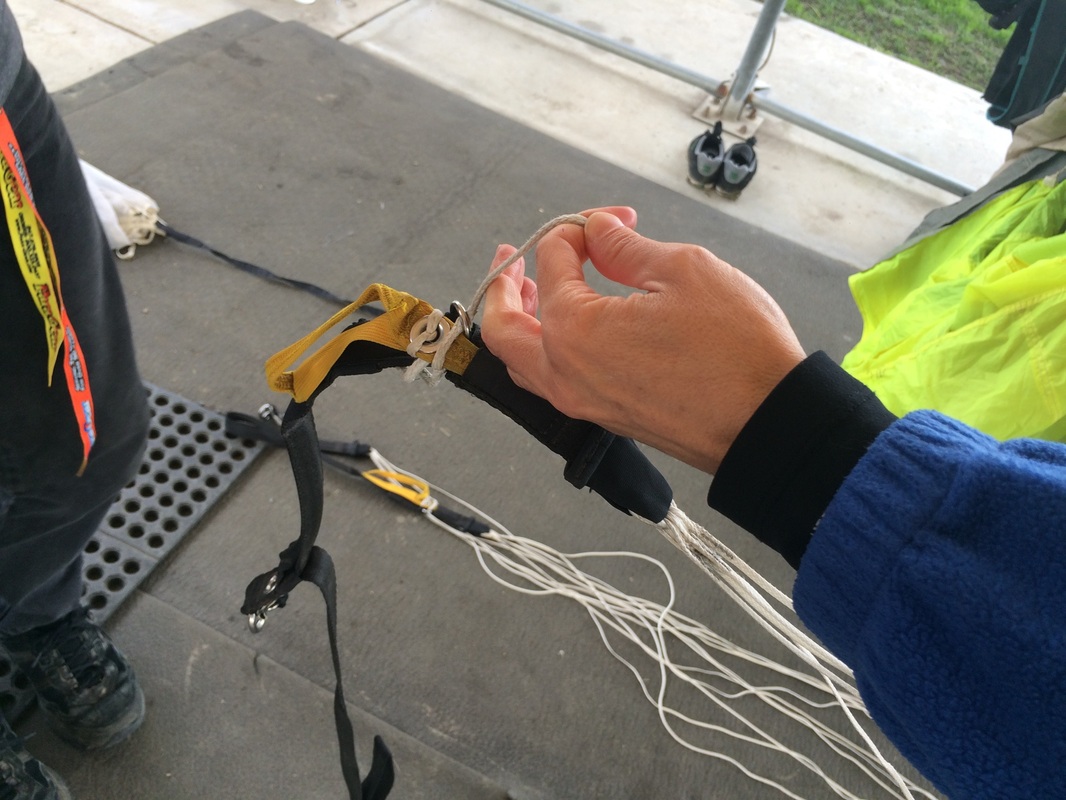
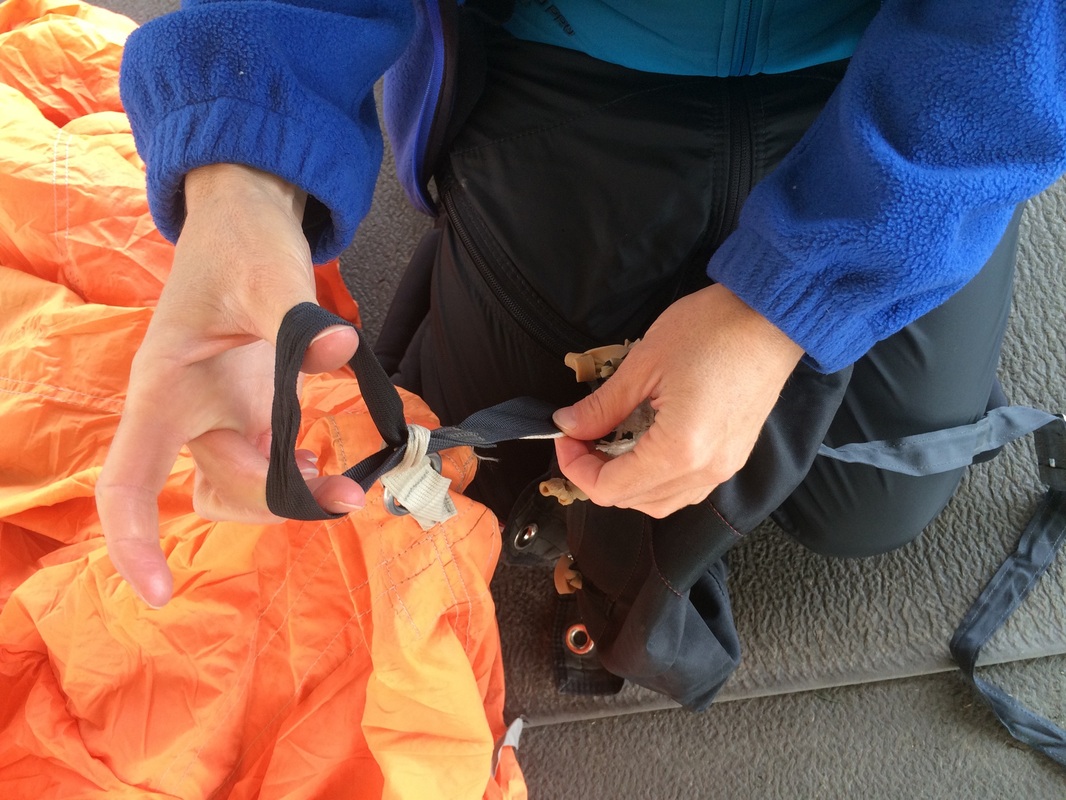
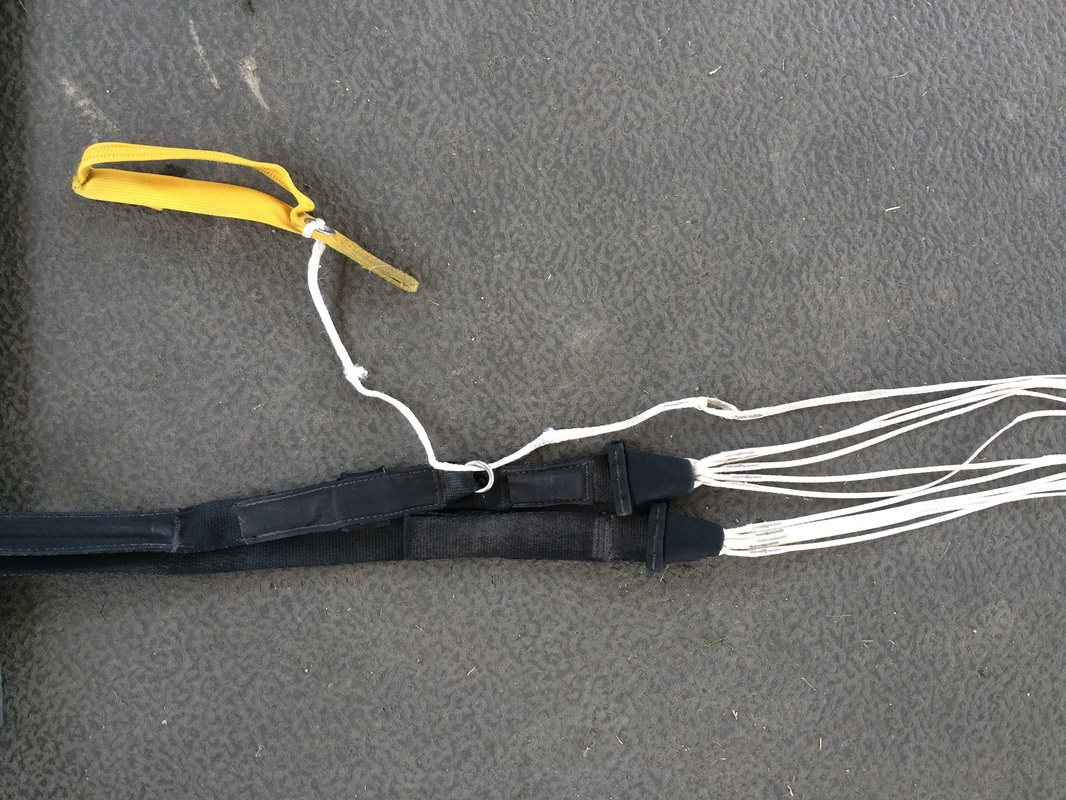
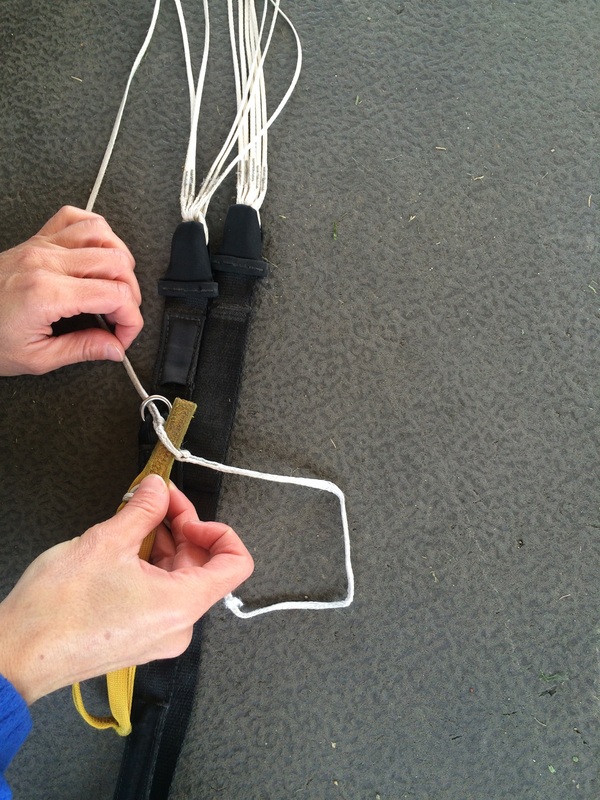
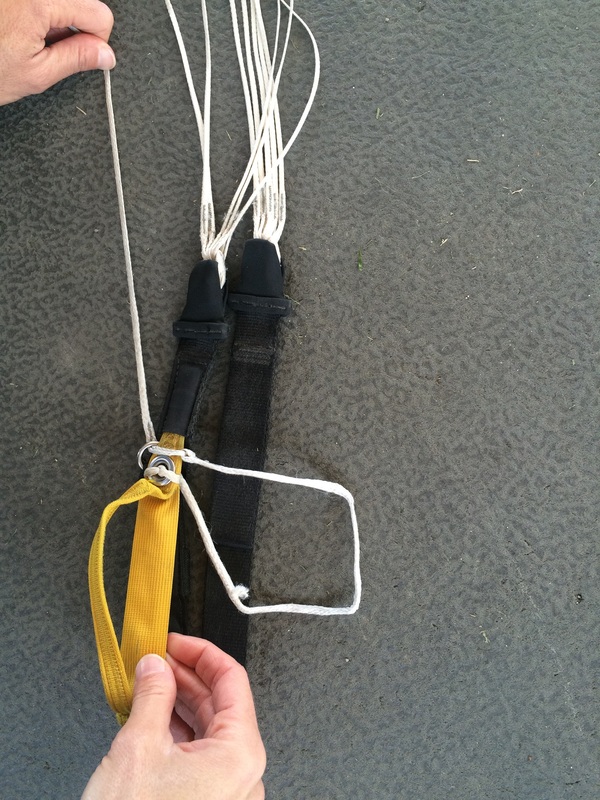
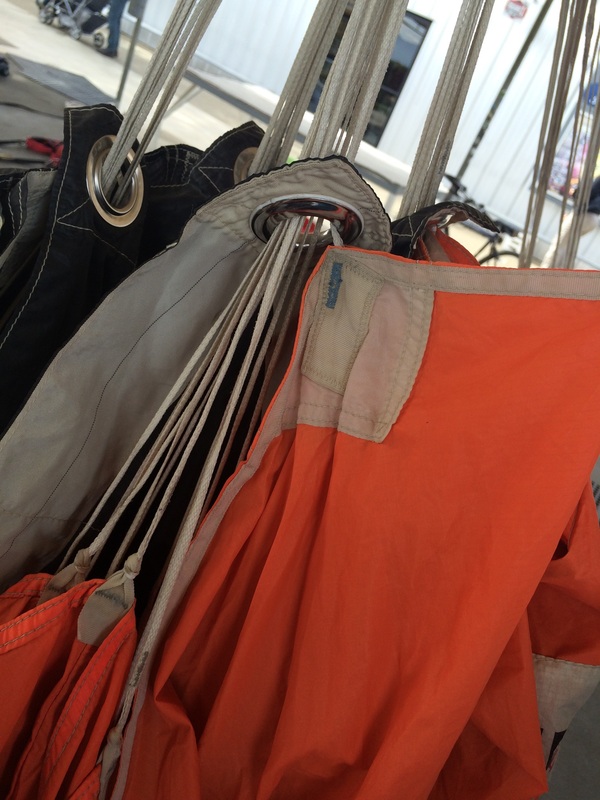
untangle and attach riser - like a snowman:
( middle through big, small through middle,
loop through small ring, riser, and
cutaway housing ring.
Cable through loop, into riser )
repeat for the other side
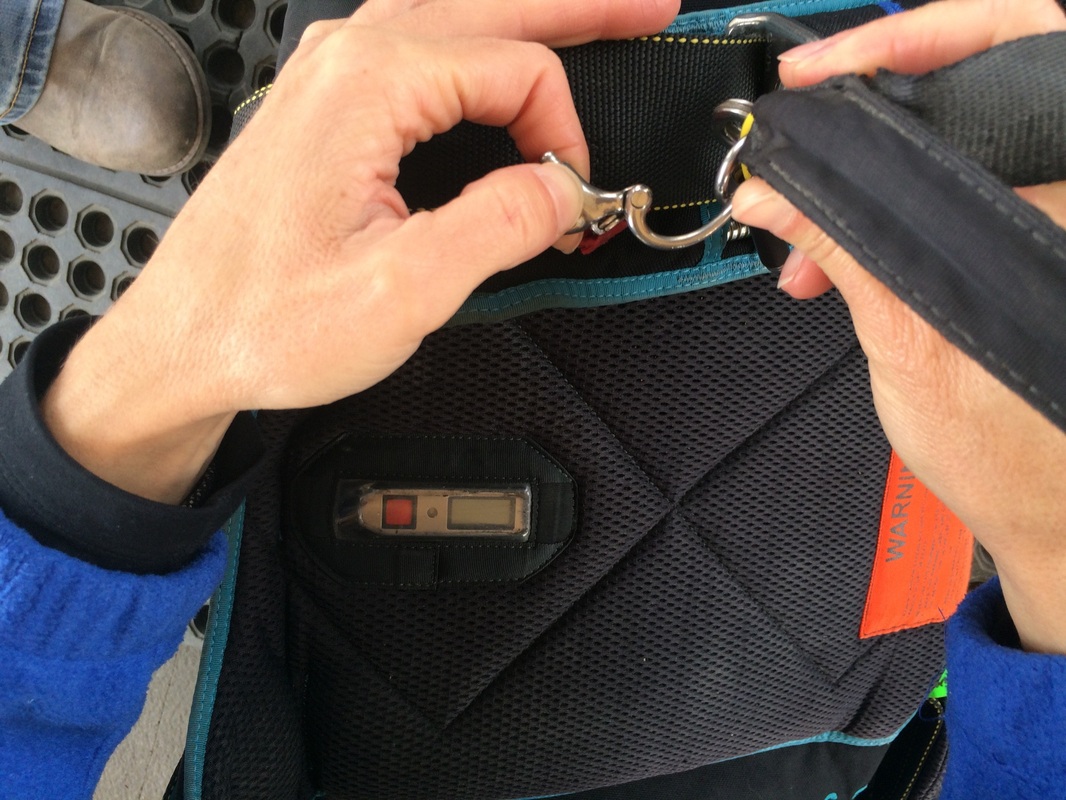

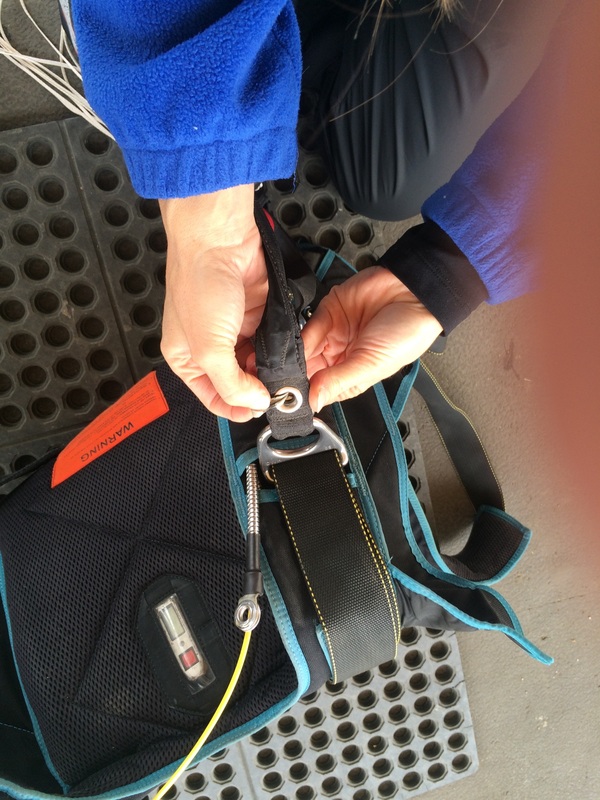
attach RSL (if so equipped)
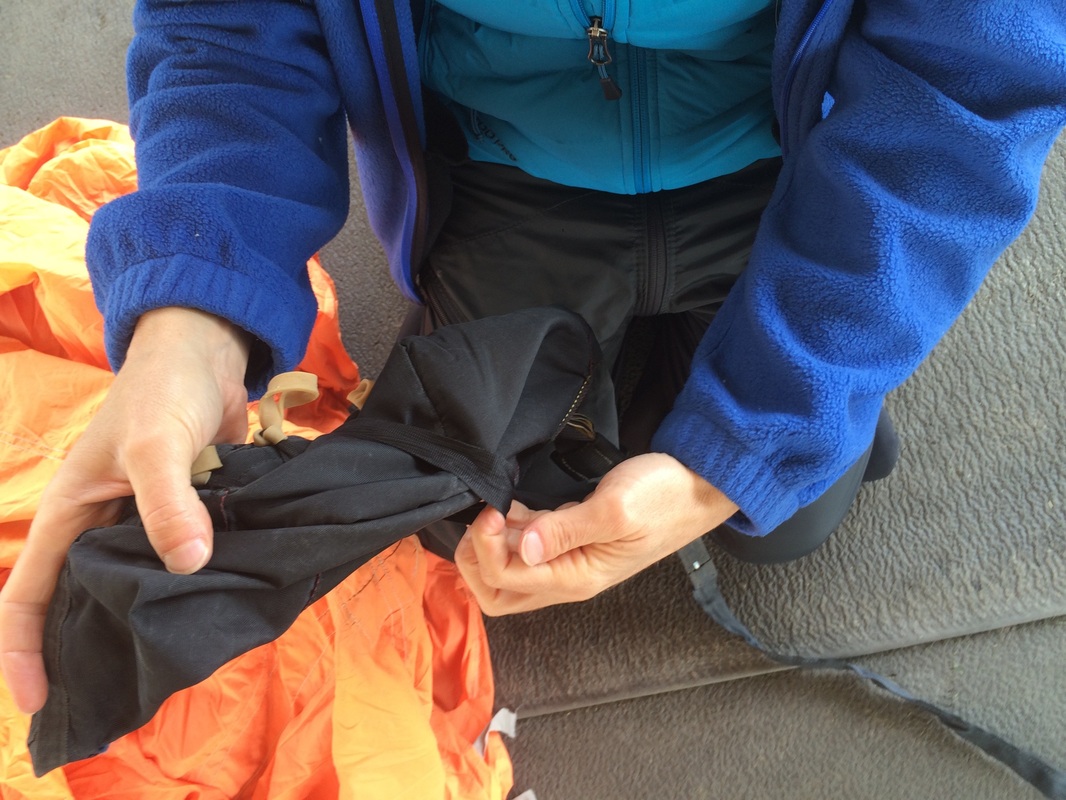
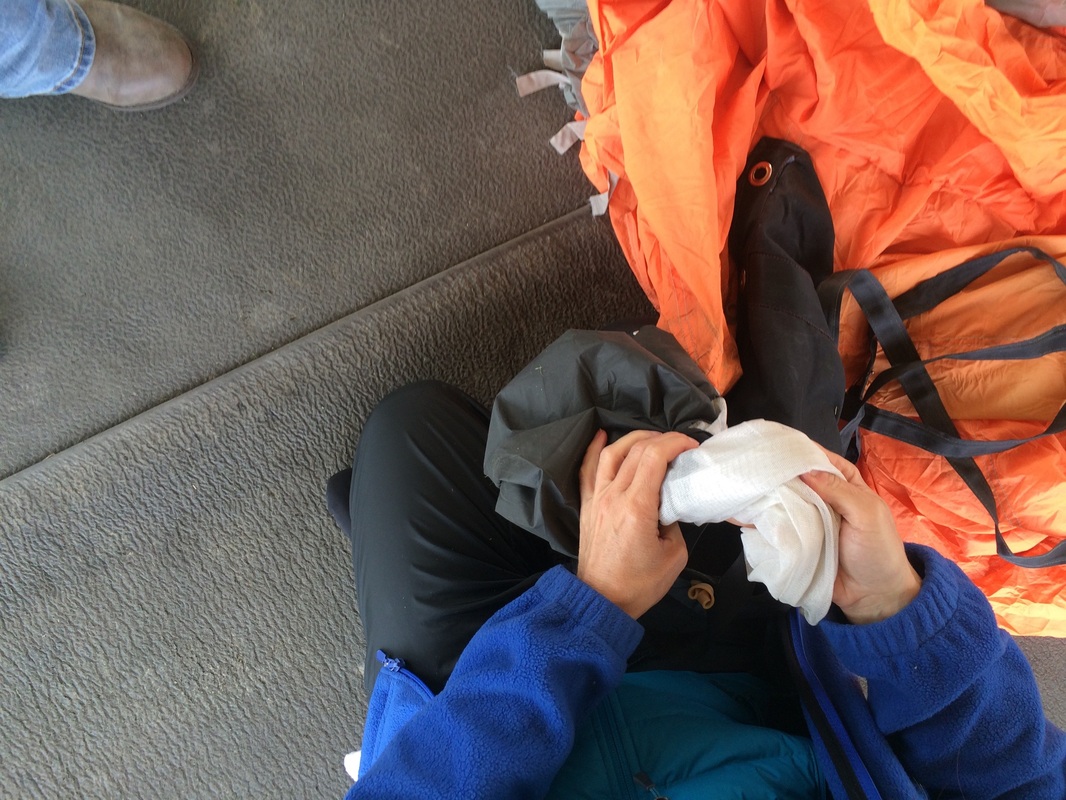

attach d-bag/pilot chute
Use Larks head Knot, or rapide link
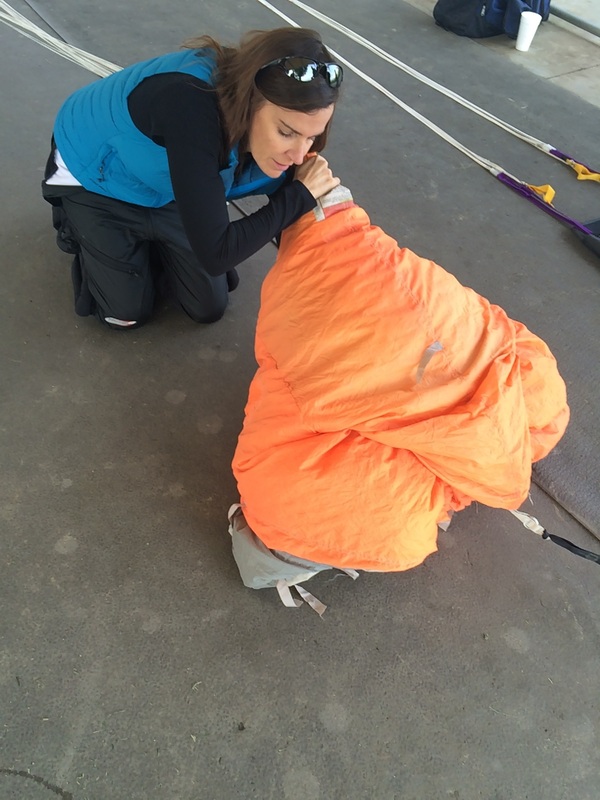
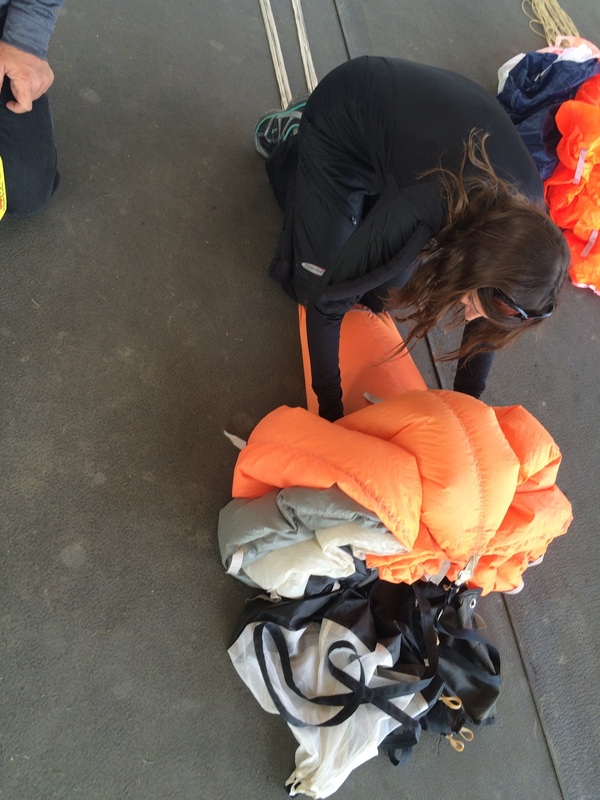
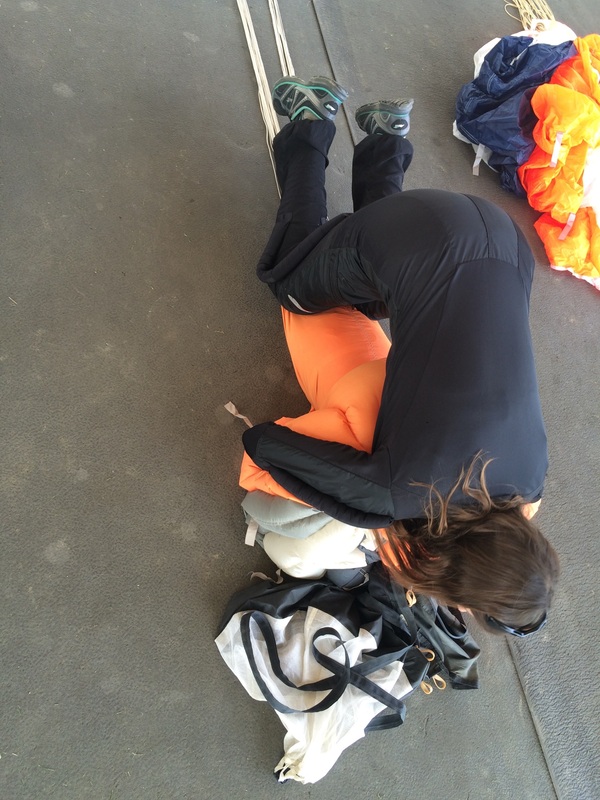
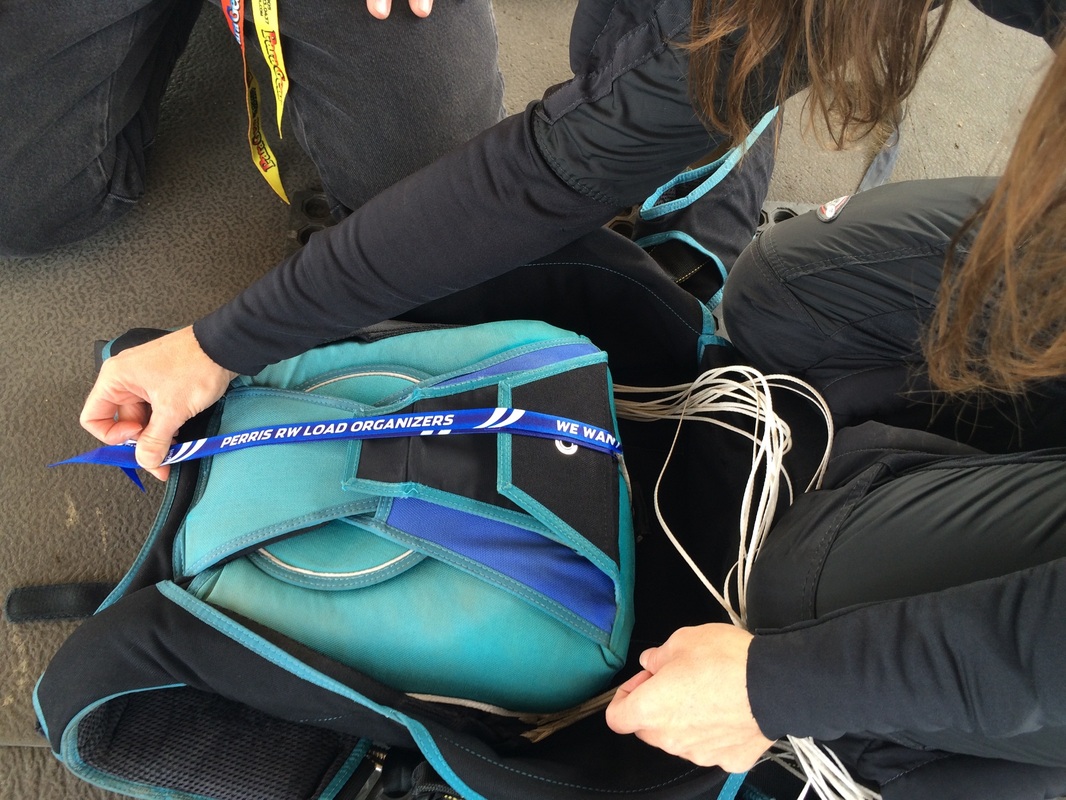
Packing:
( click to enlarge pics)
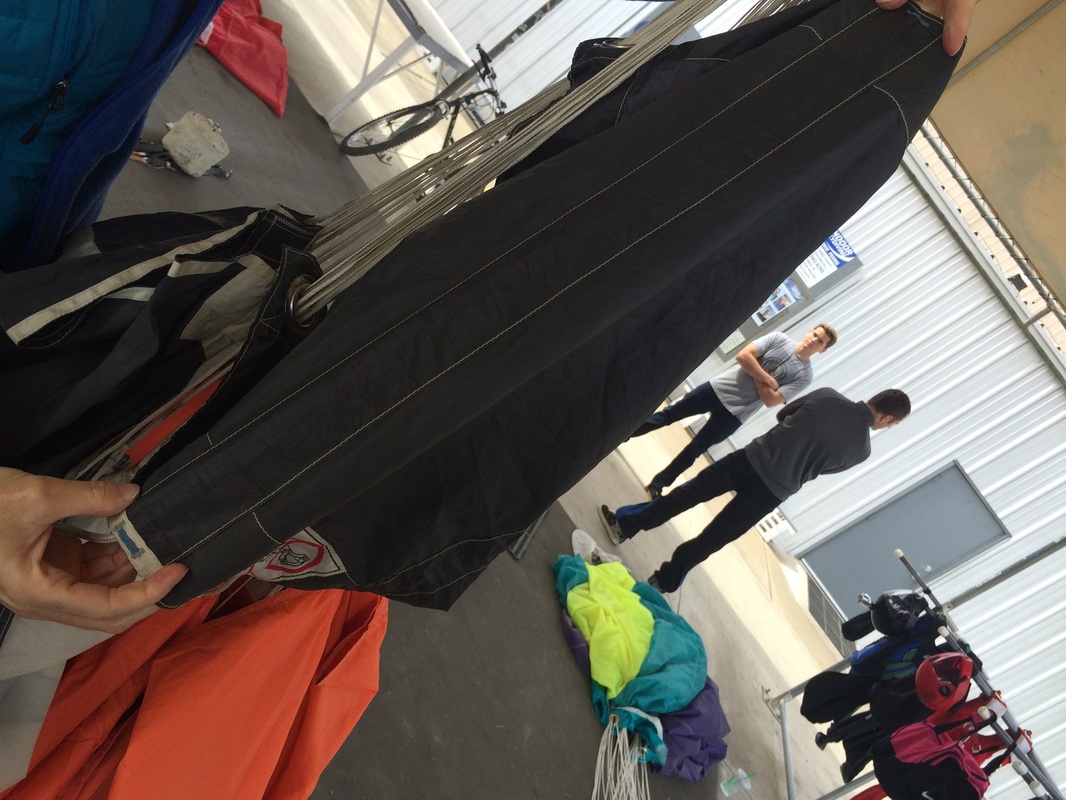
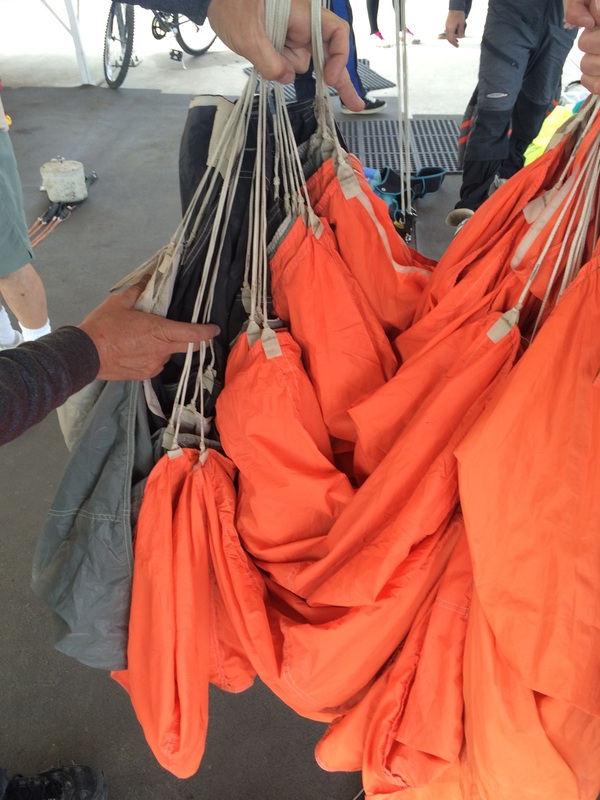
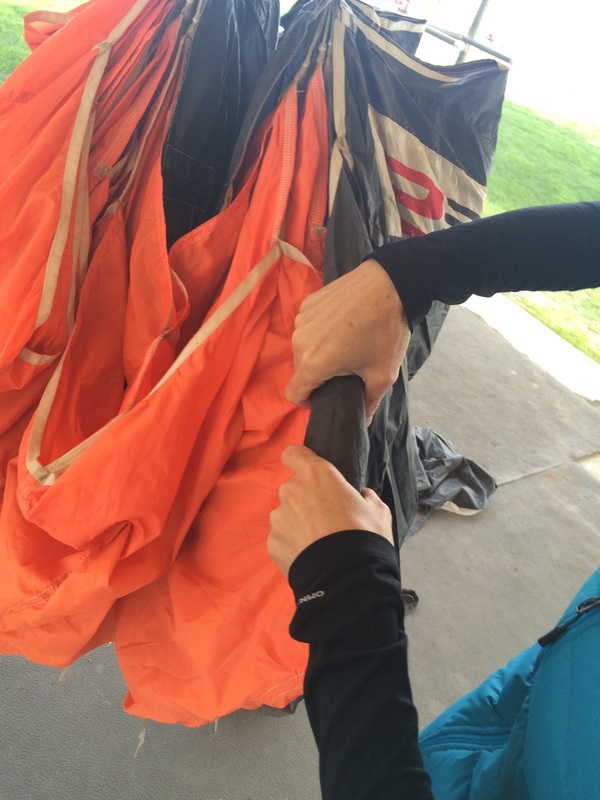
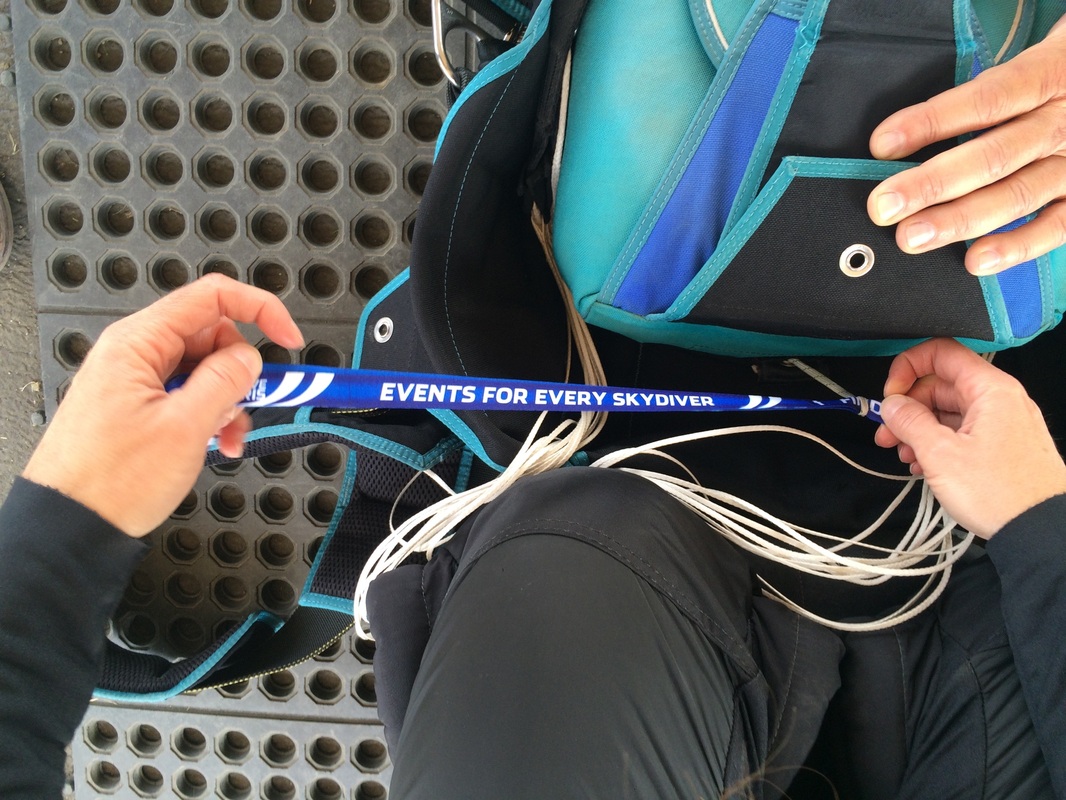
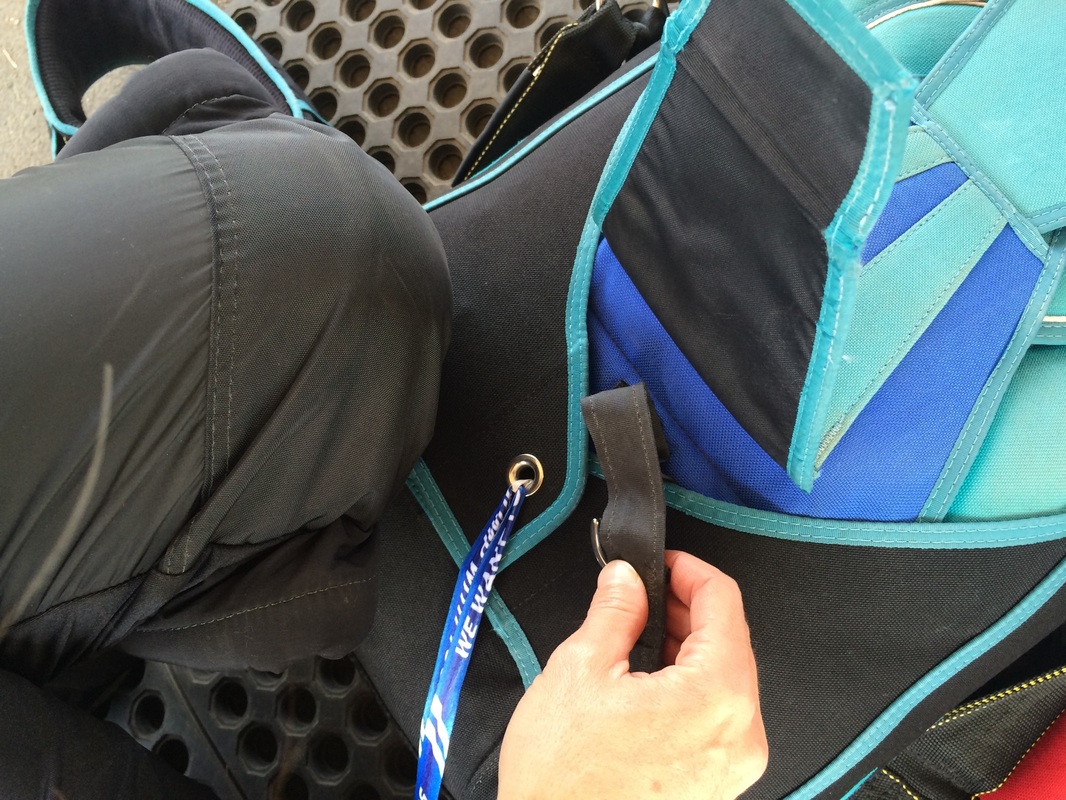
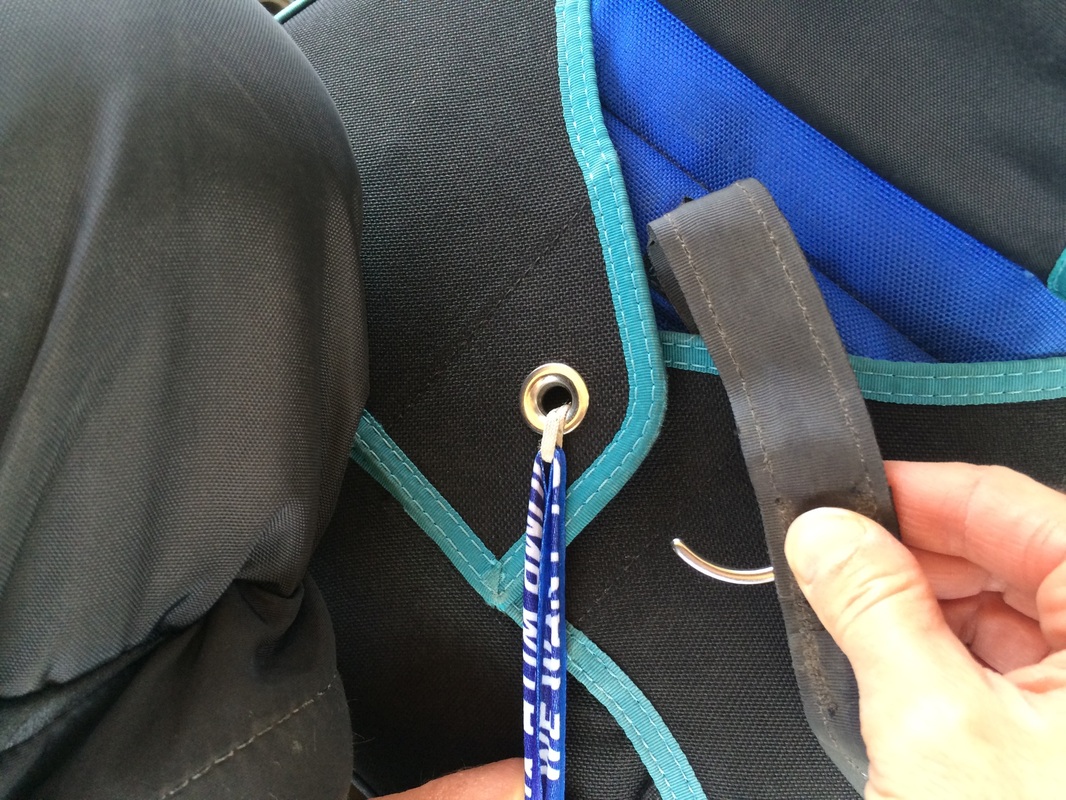
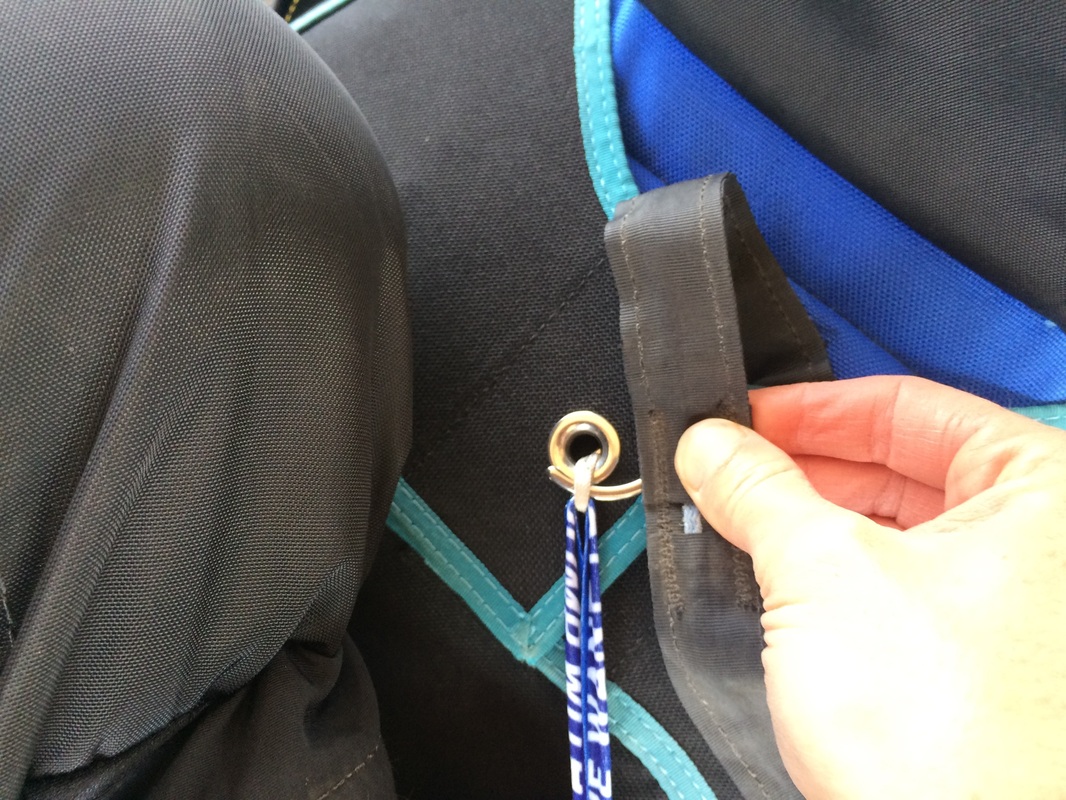
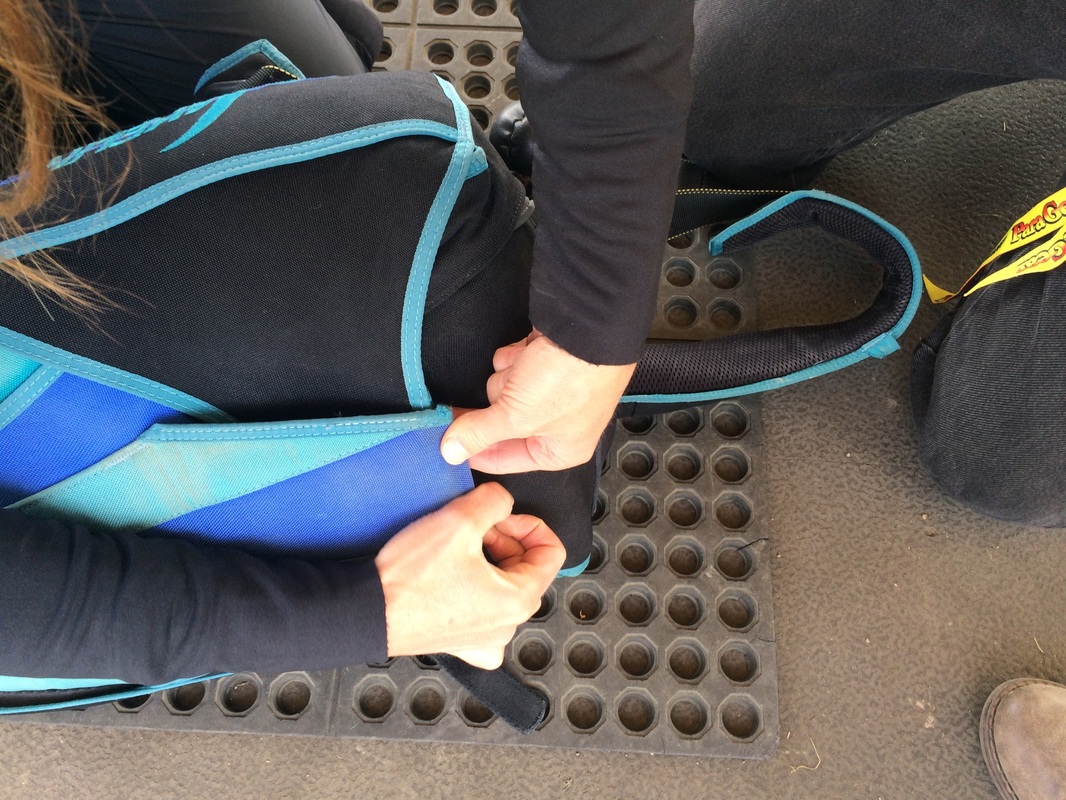
stow Brakes ***Important***

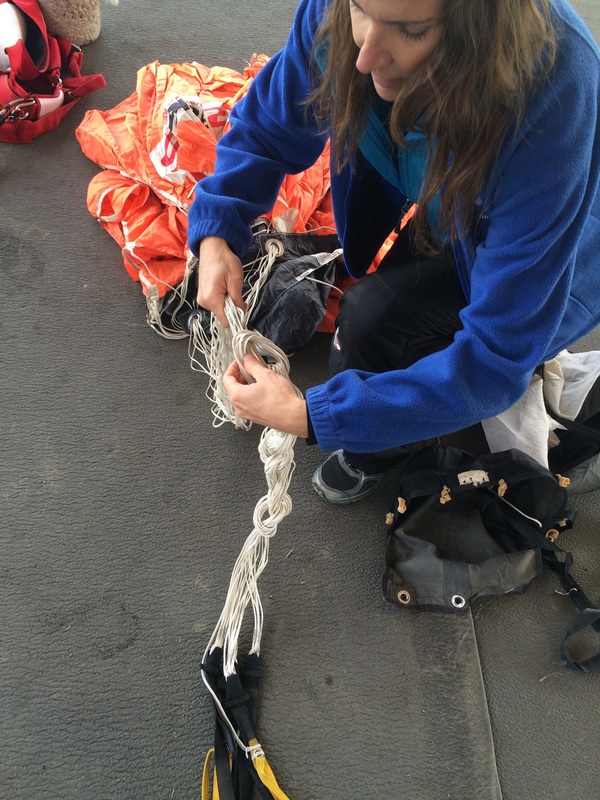
separate line groups

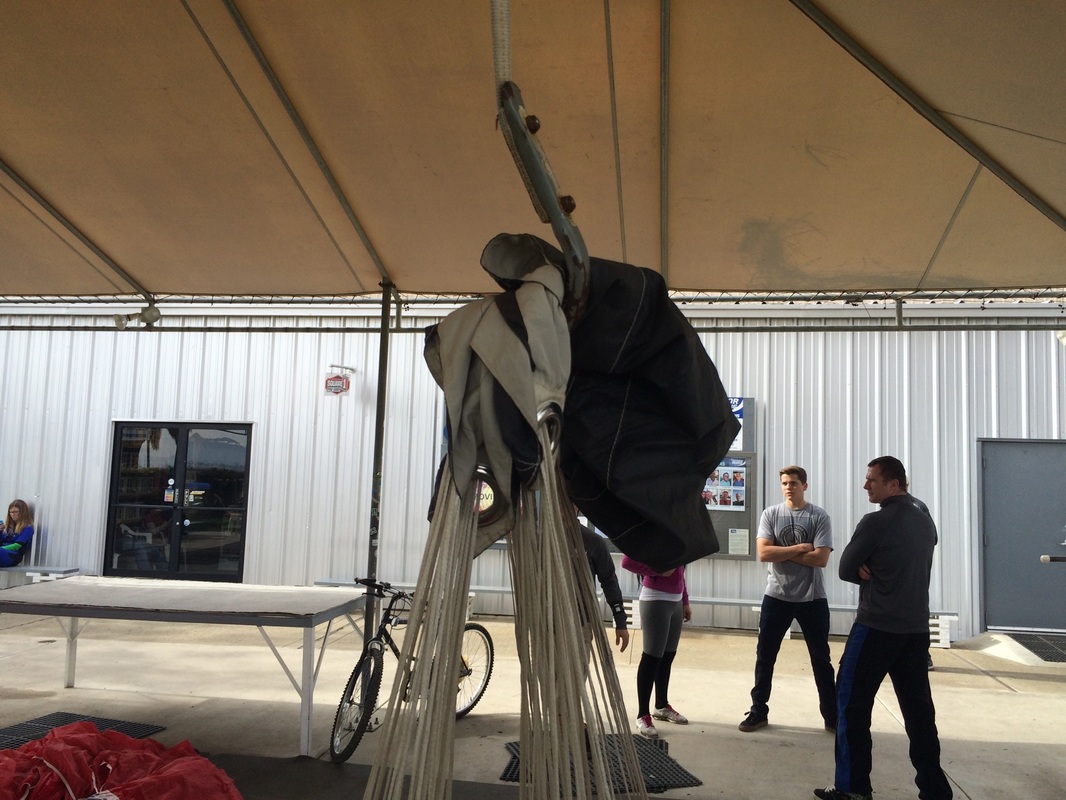
run lines up ( if tangled, fix it; if you need help, ASK )

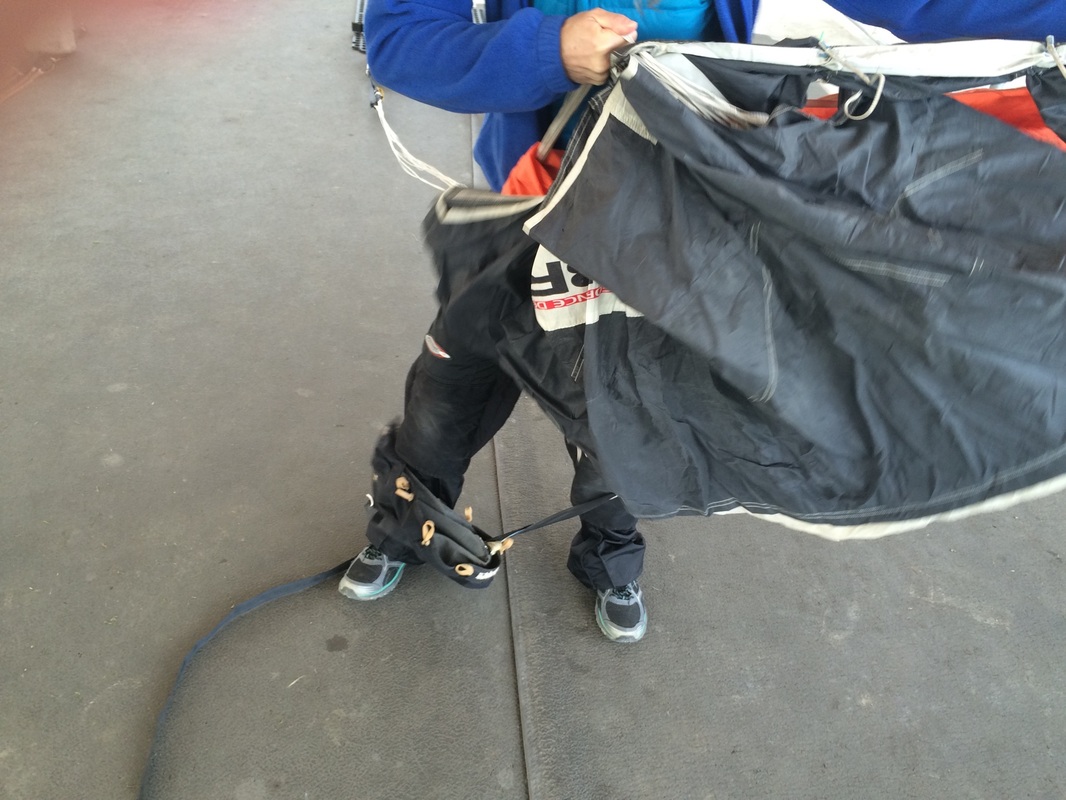

shake it vigorously
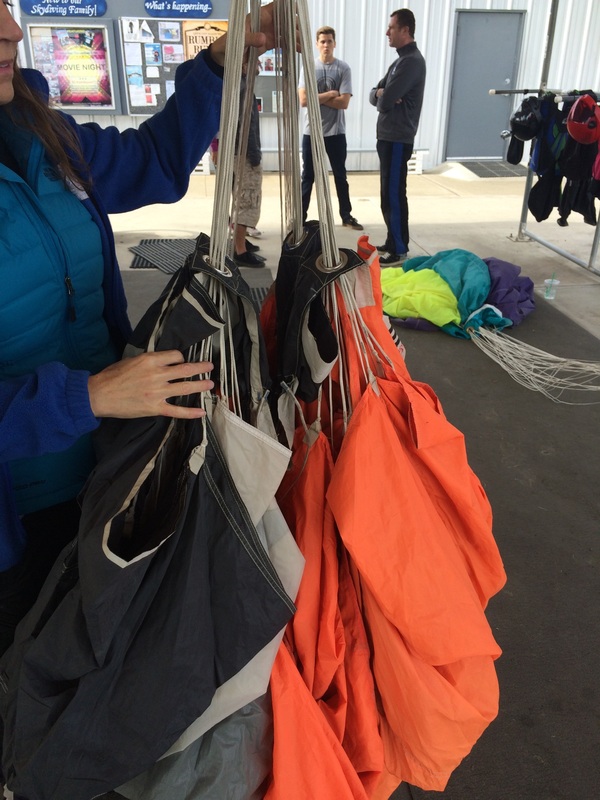
hang over hook (if using hook)

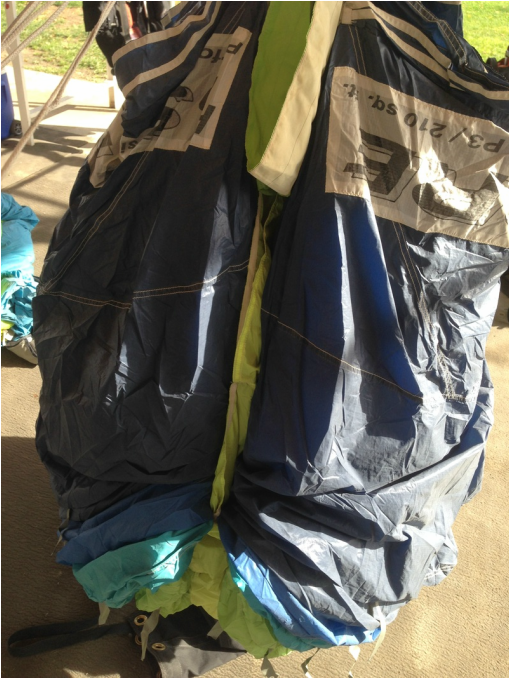
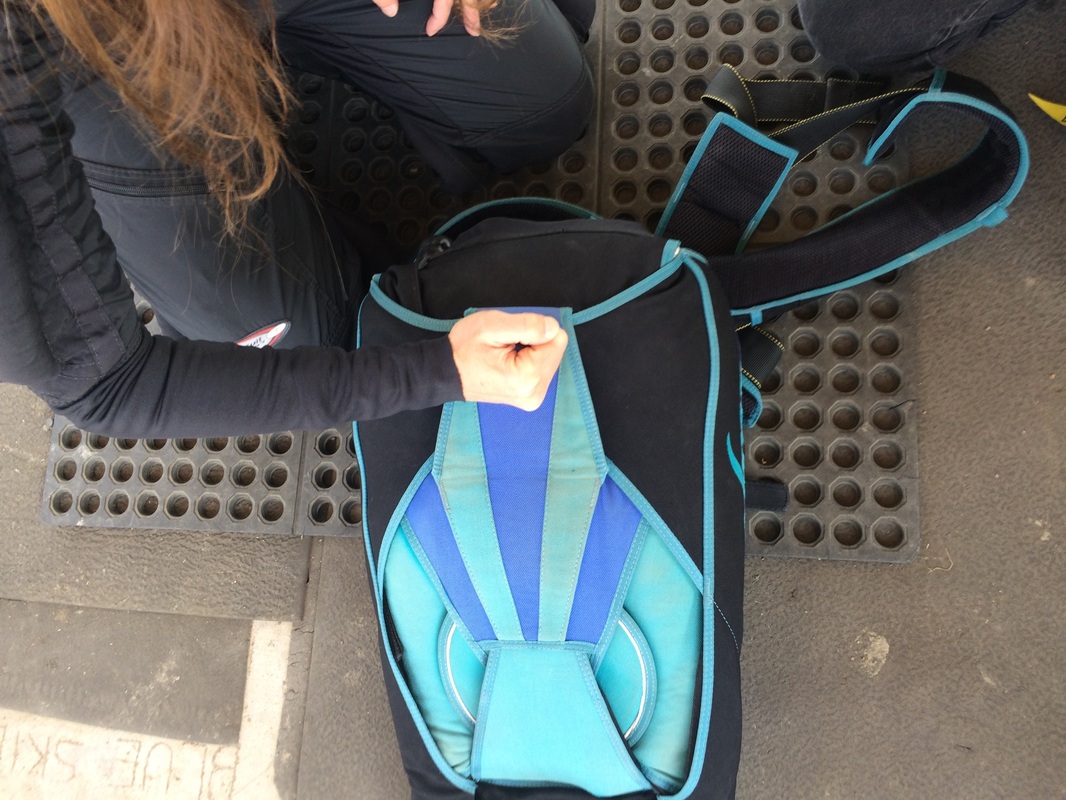
un-collapse Slider ***Important***
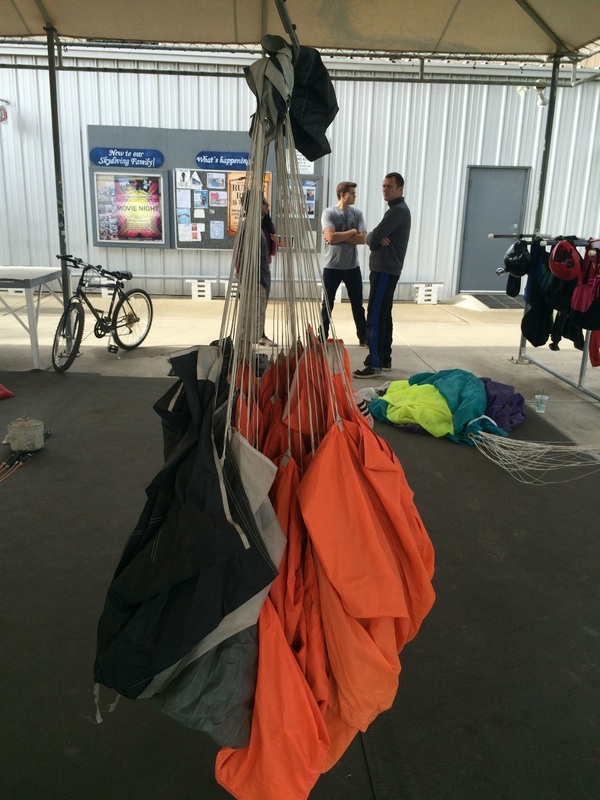
move slider out of the way
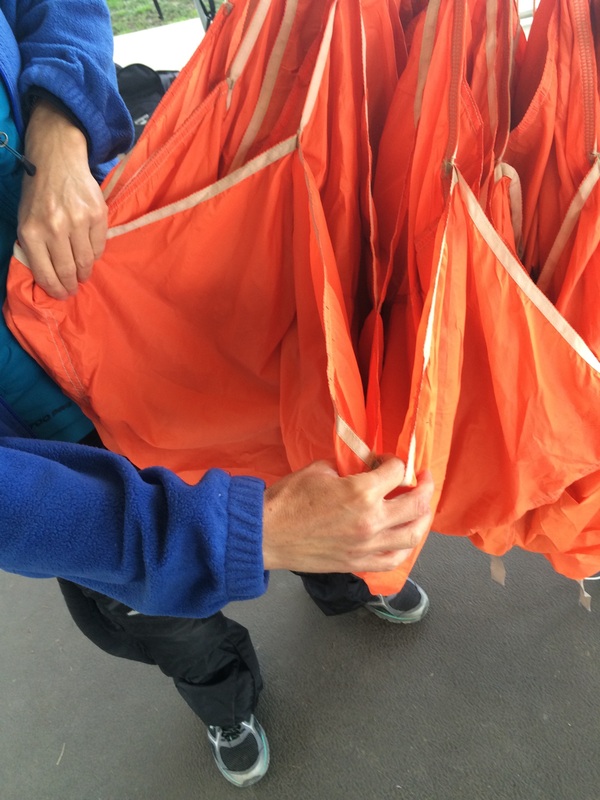
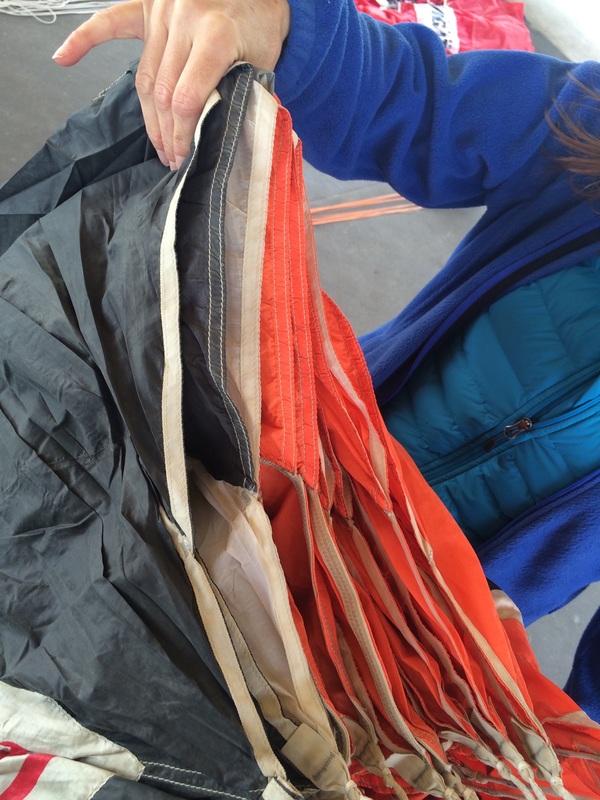
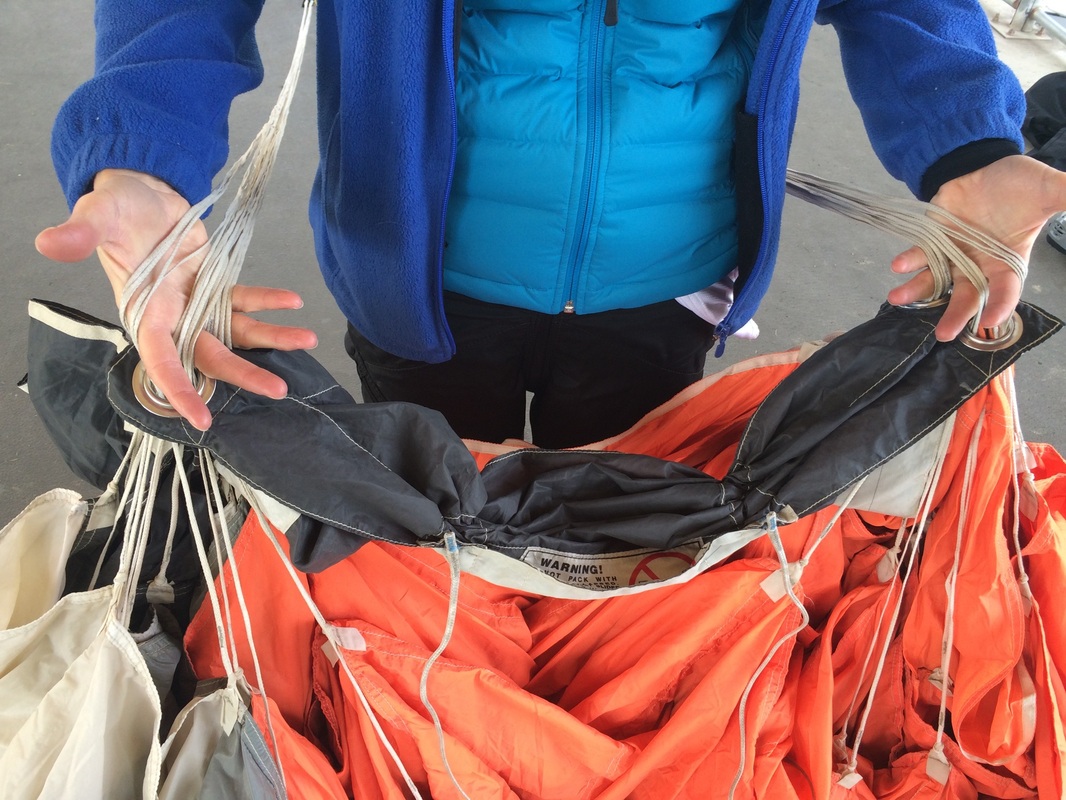
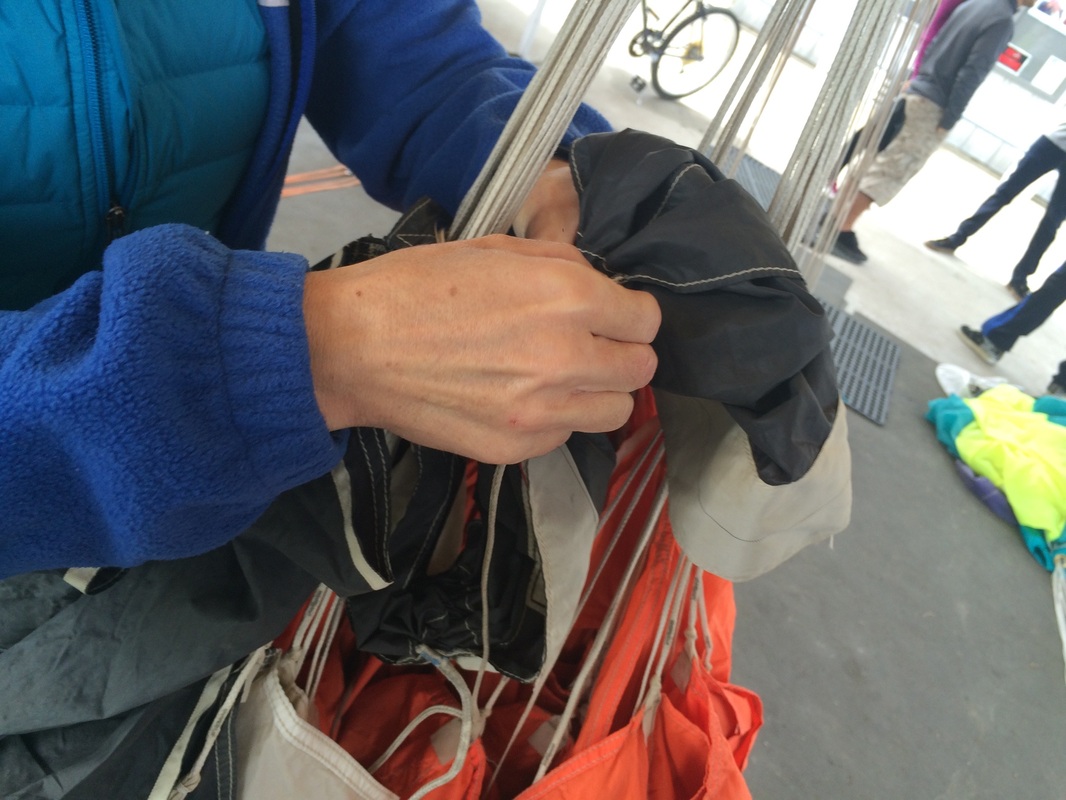
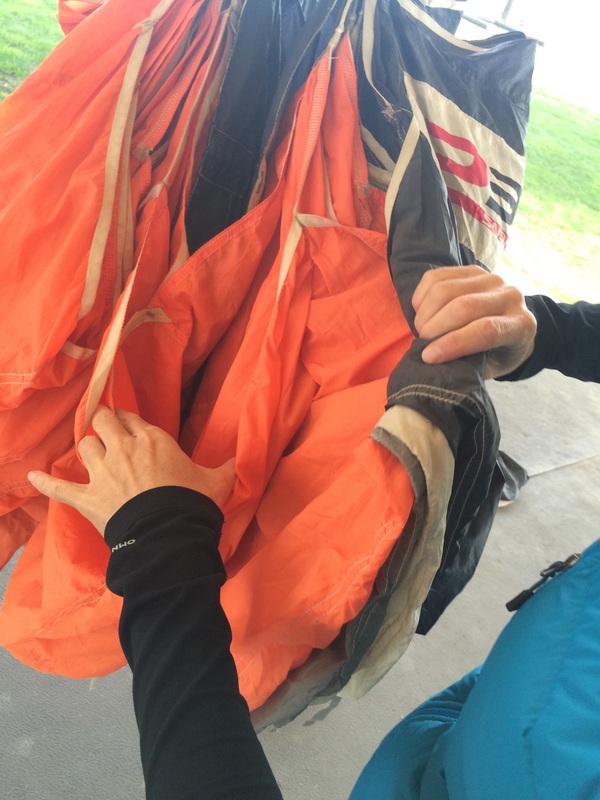
count and clear nose cells
7 or 9 depending on canopy type

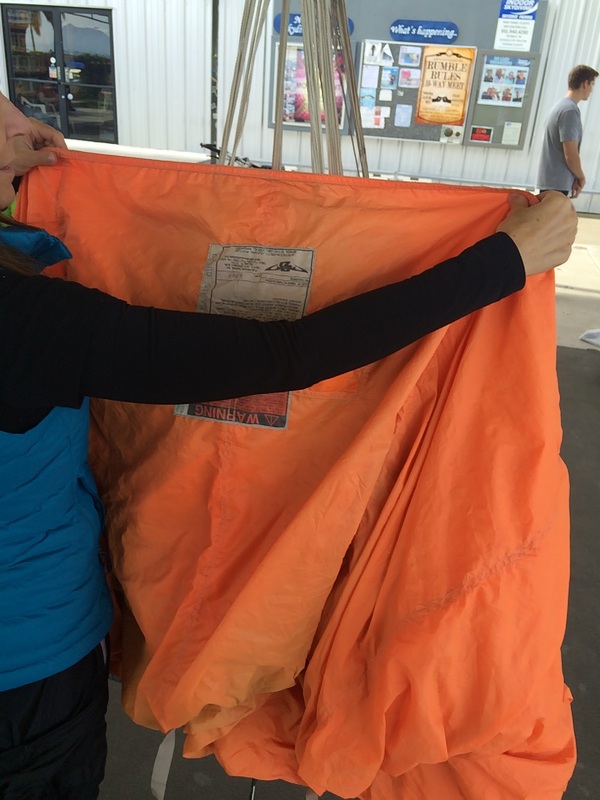
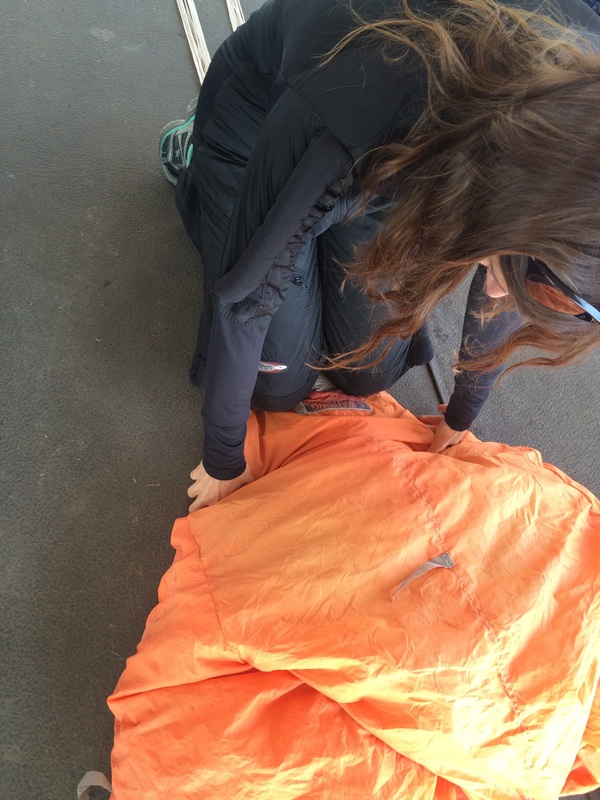
count (4 or 5) A lines (on one side)
push fabric away from center
repeat for B,C,D lines
repeat on other side

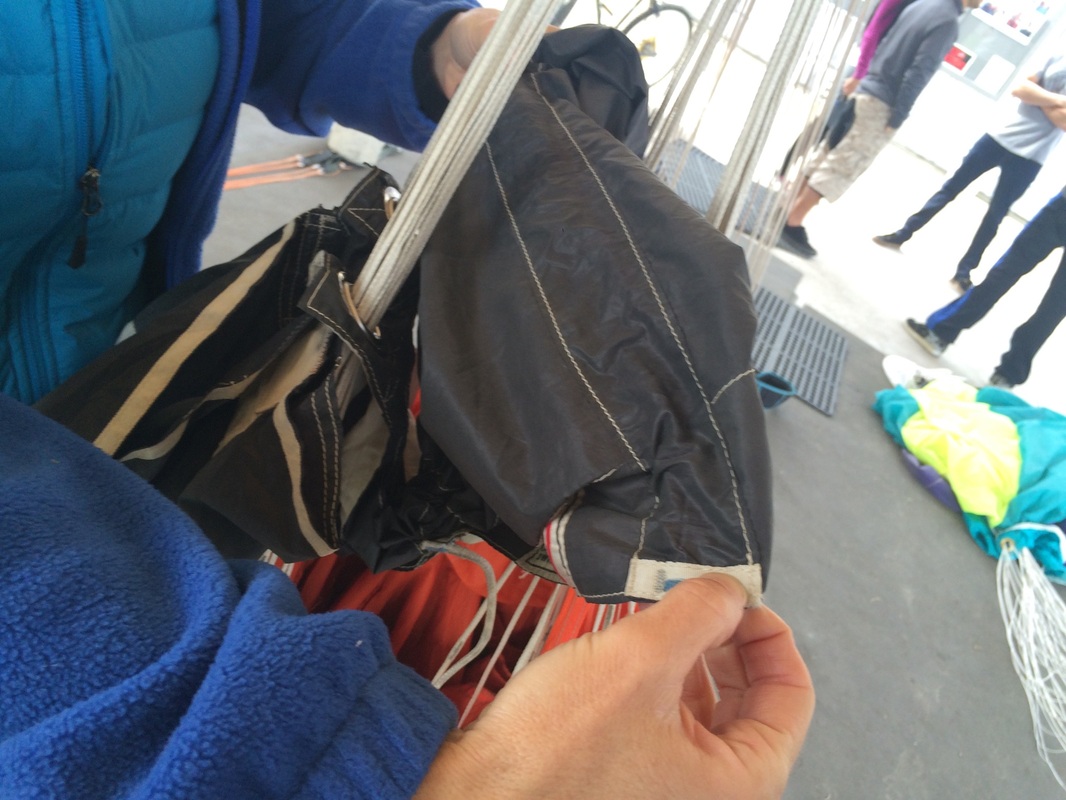
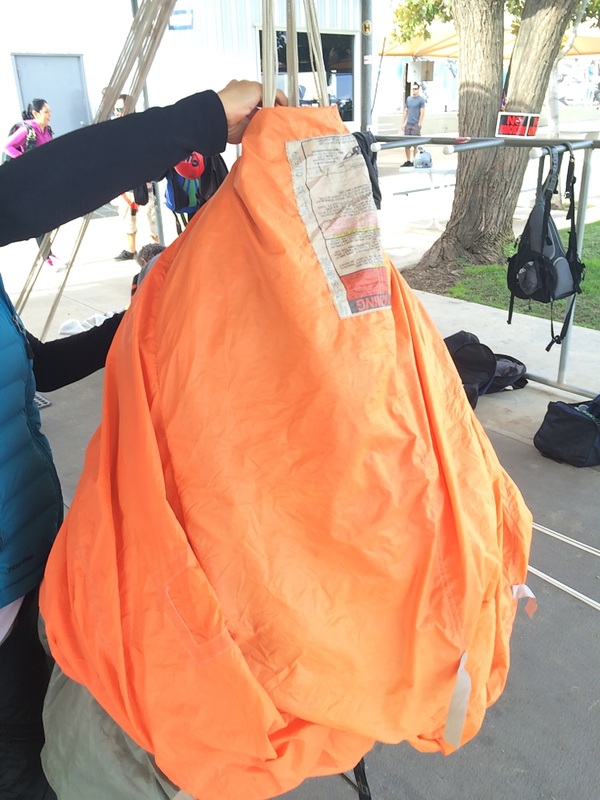
quarter slider
clear stabilizers


for slower openings, roll the nose

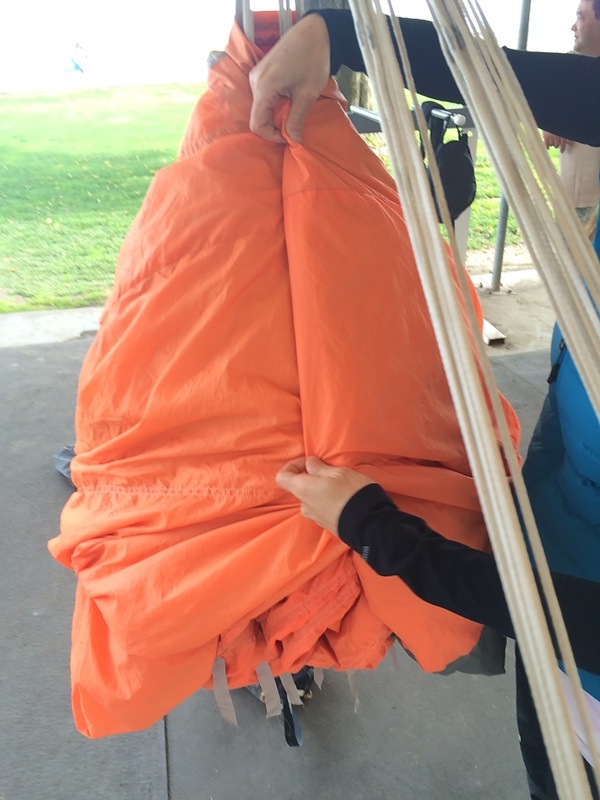
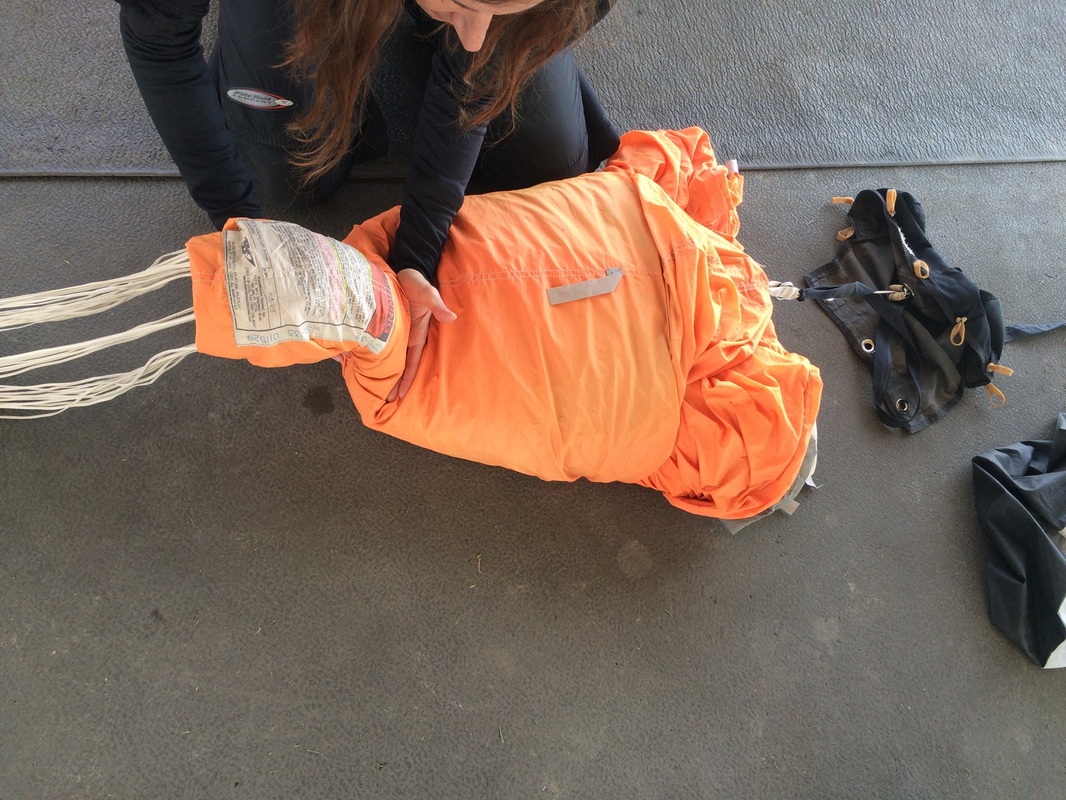
wrap the tail

lay it down


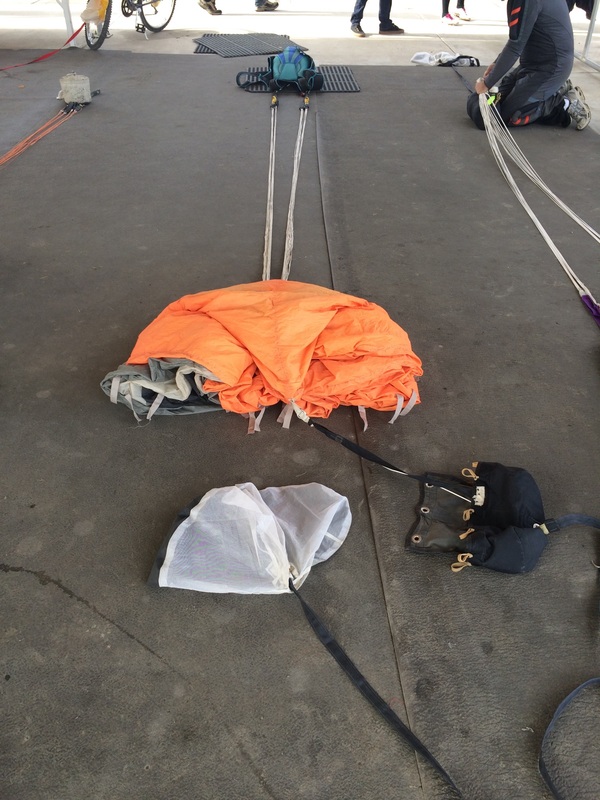
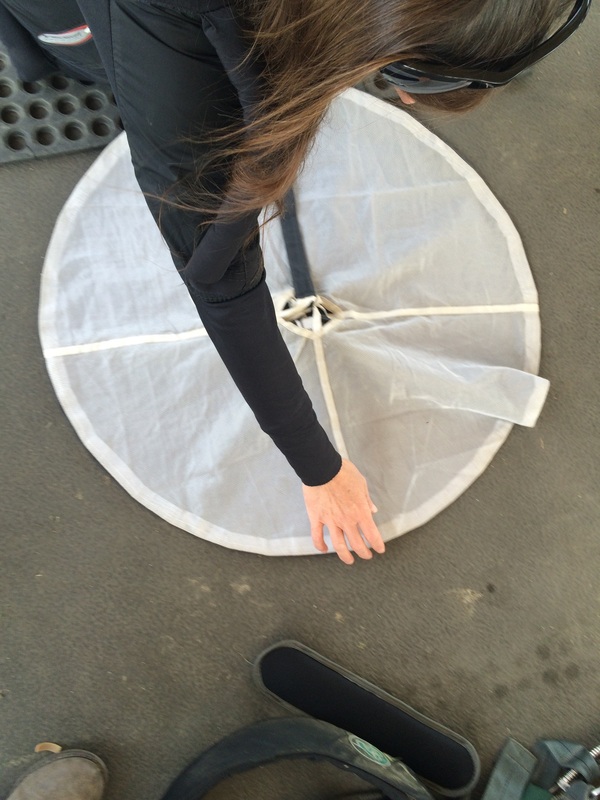
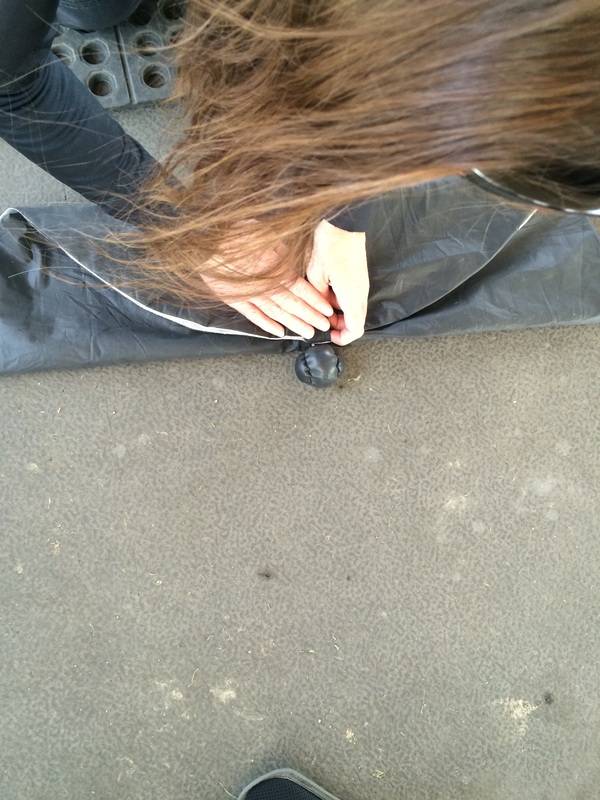
un-collapse the Pilot Chute ***Important***


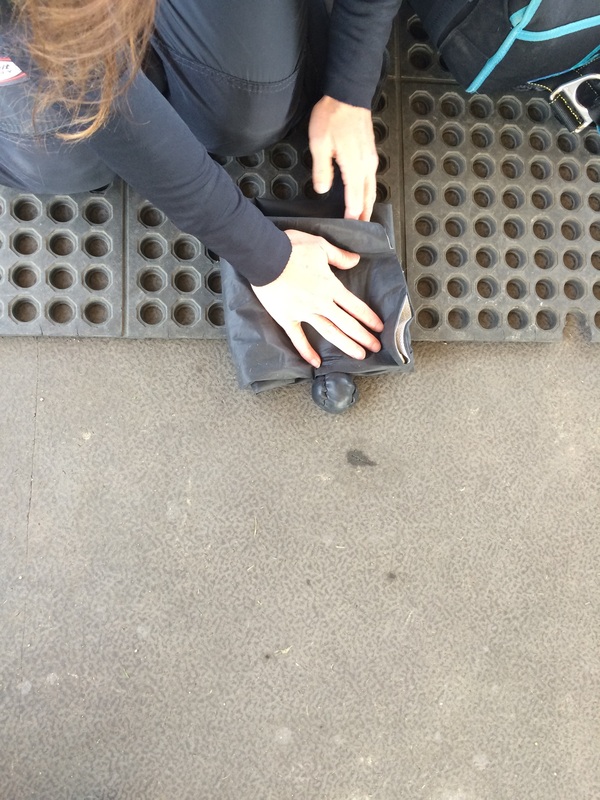
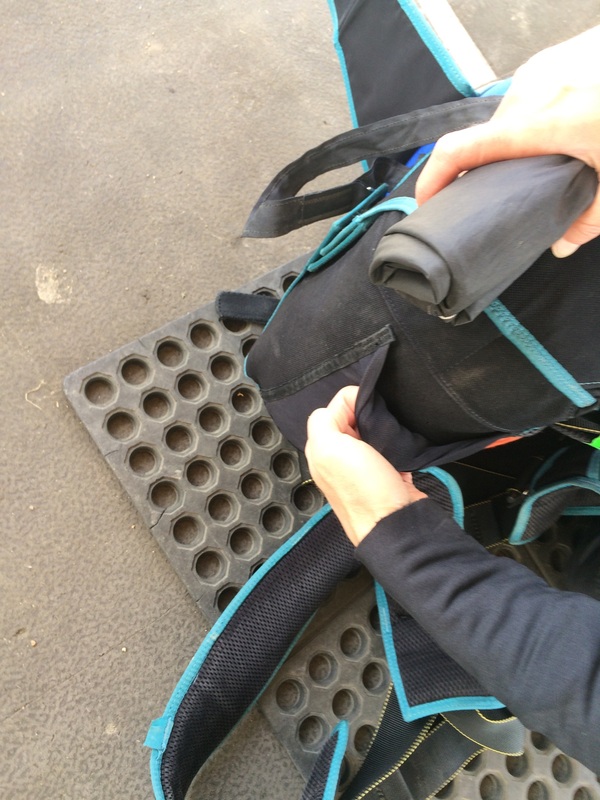
burrito wrap and squish flat to just wider than the bag
Tip: hold the lines through the tail fabric
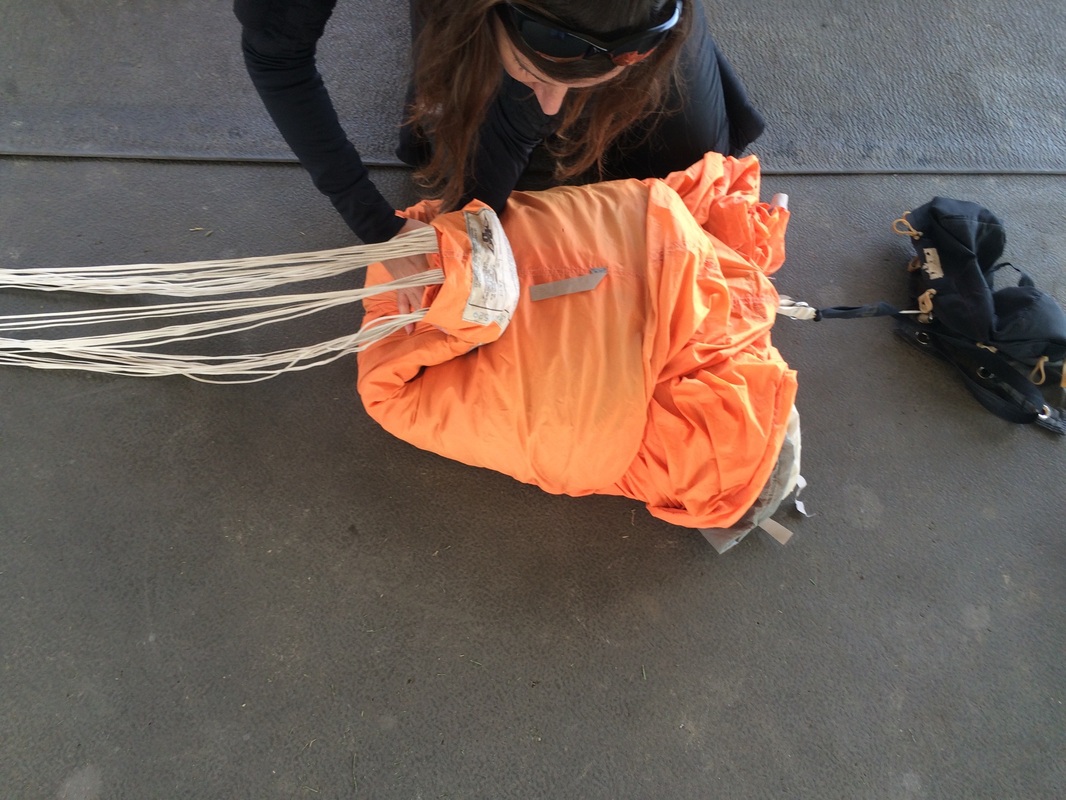
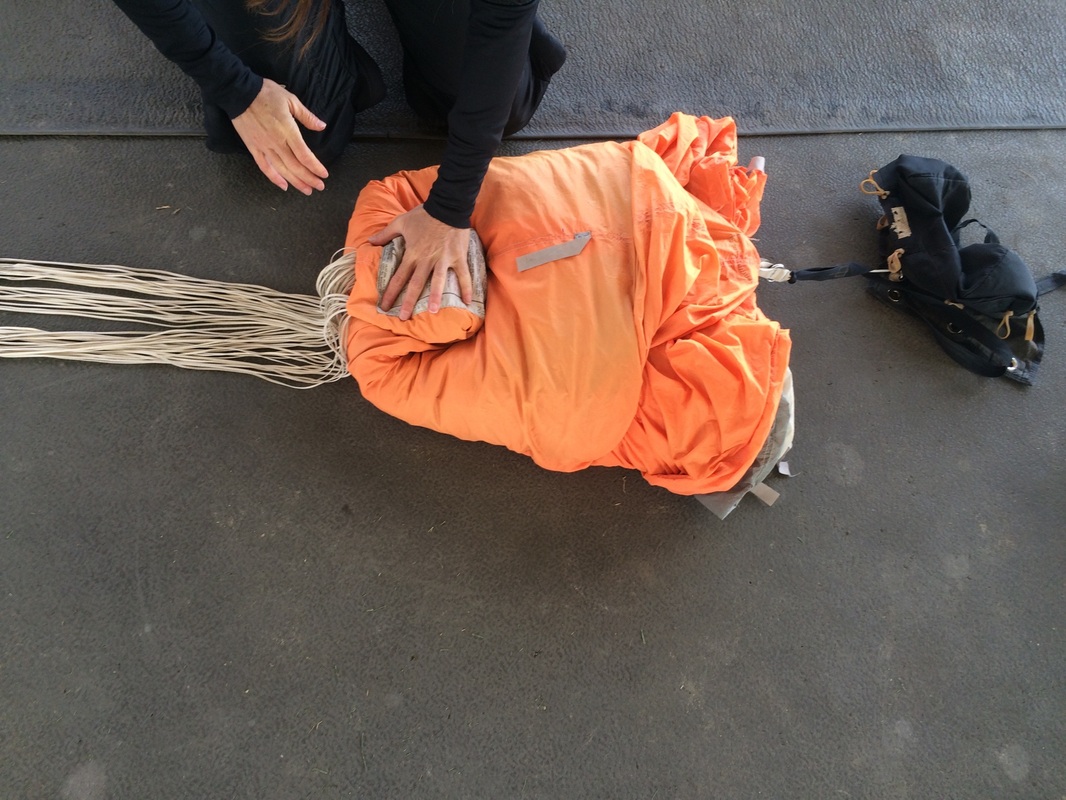
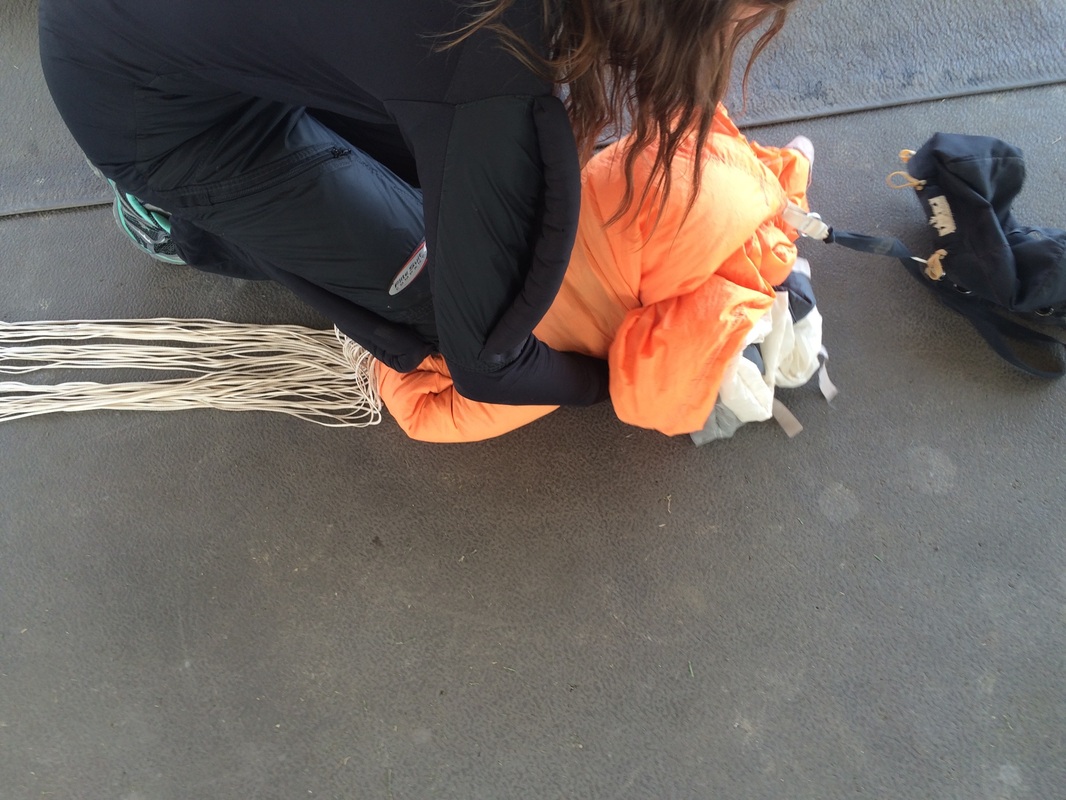

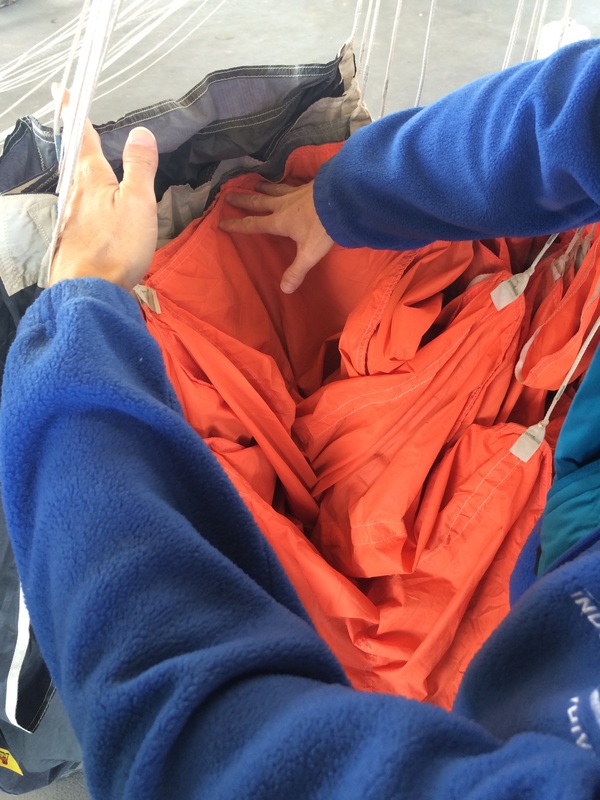
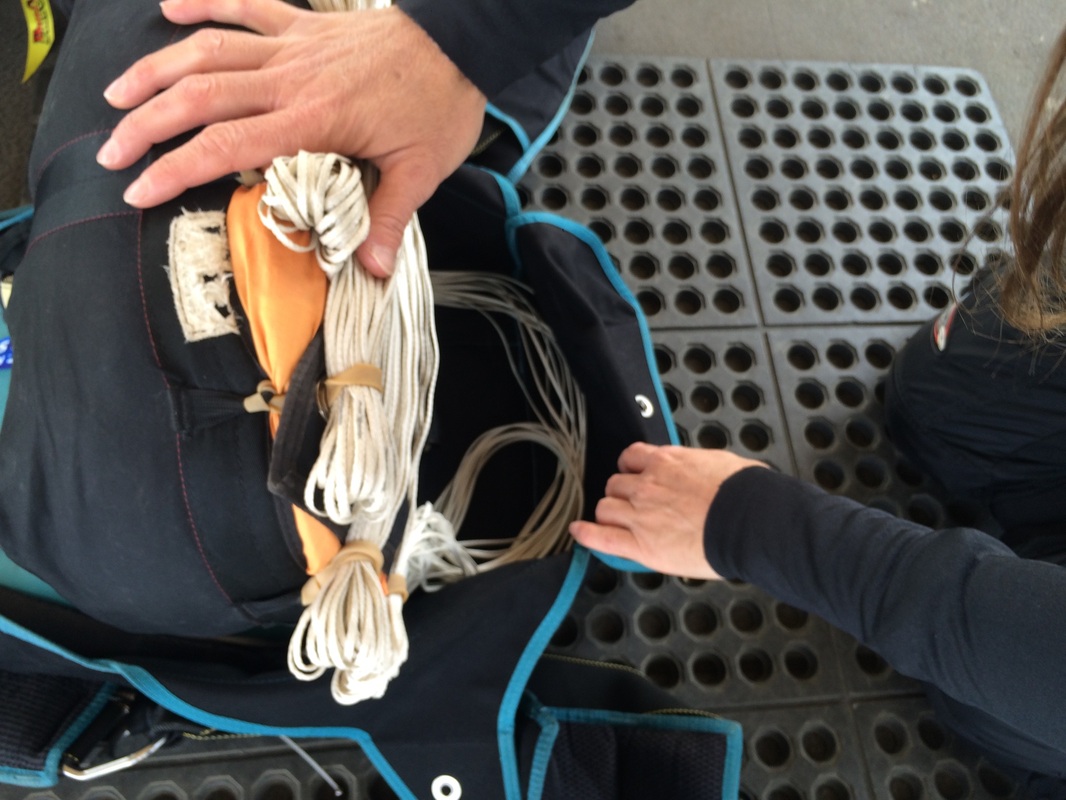
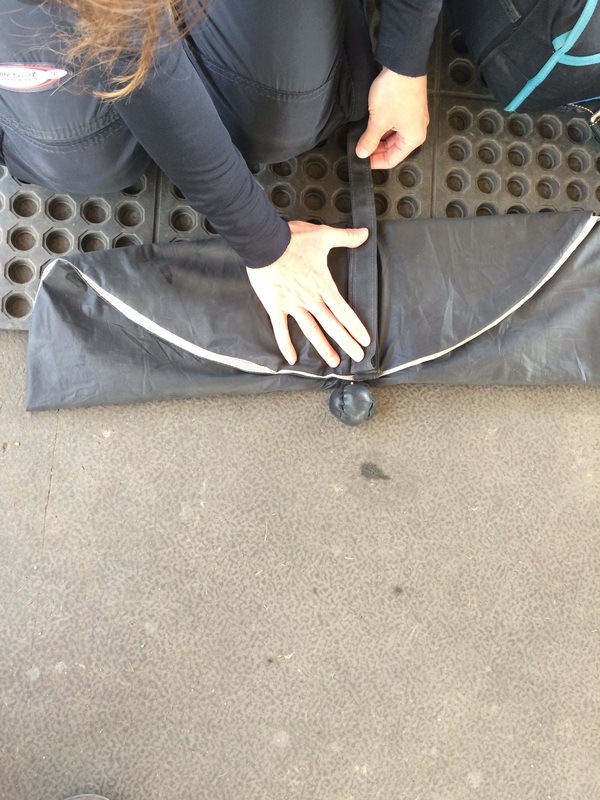
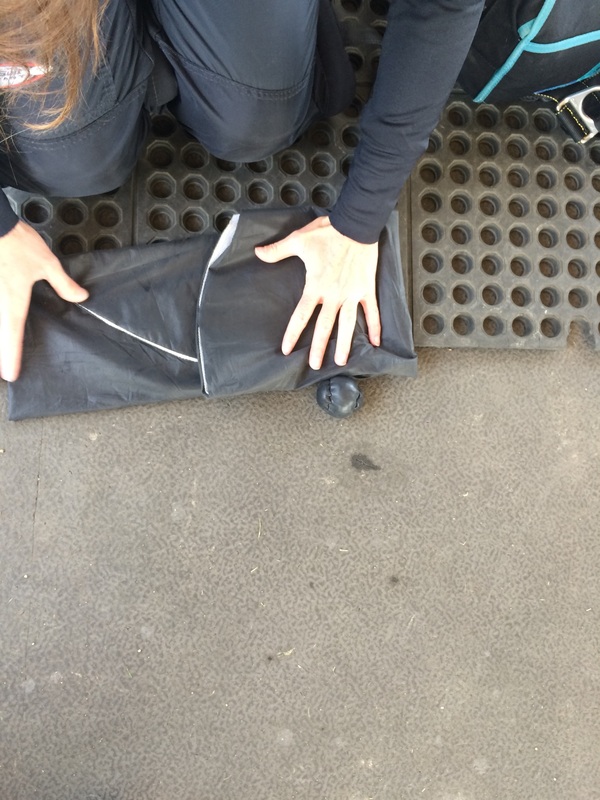
s-fold


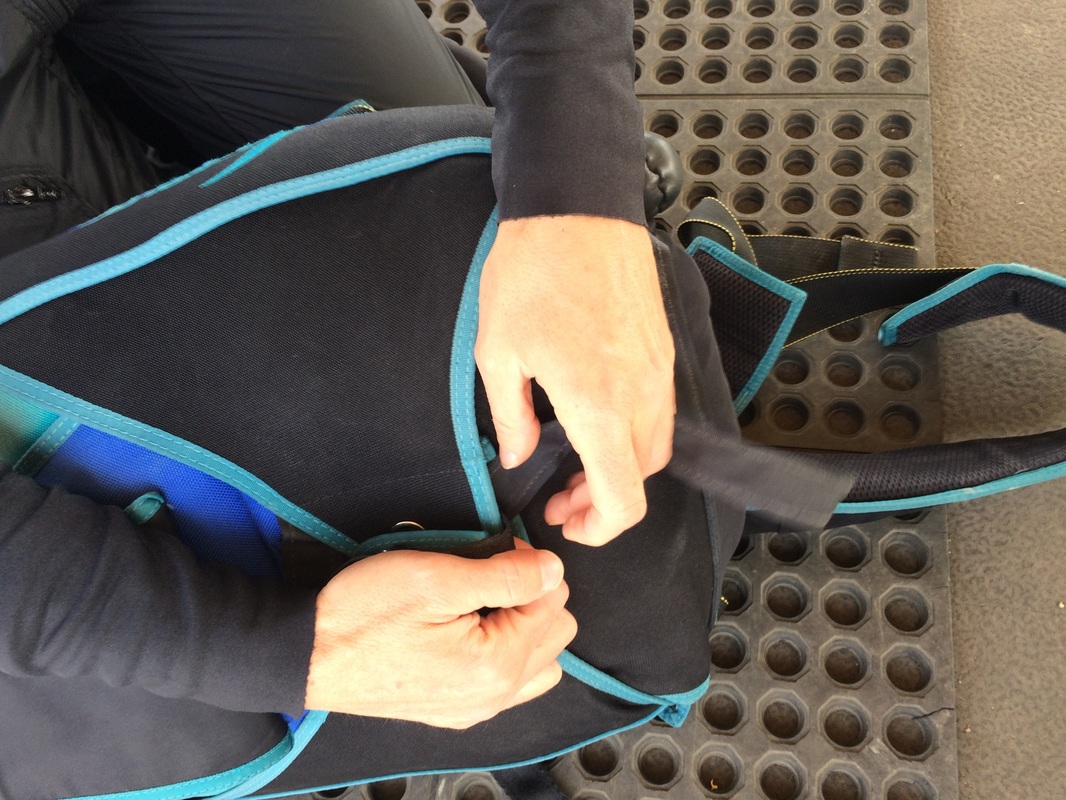
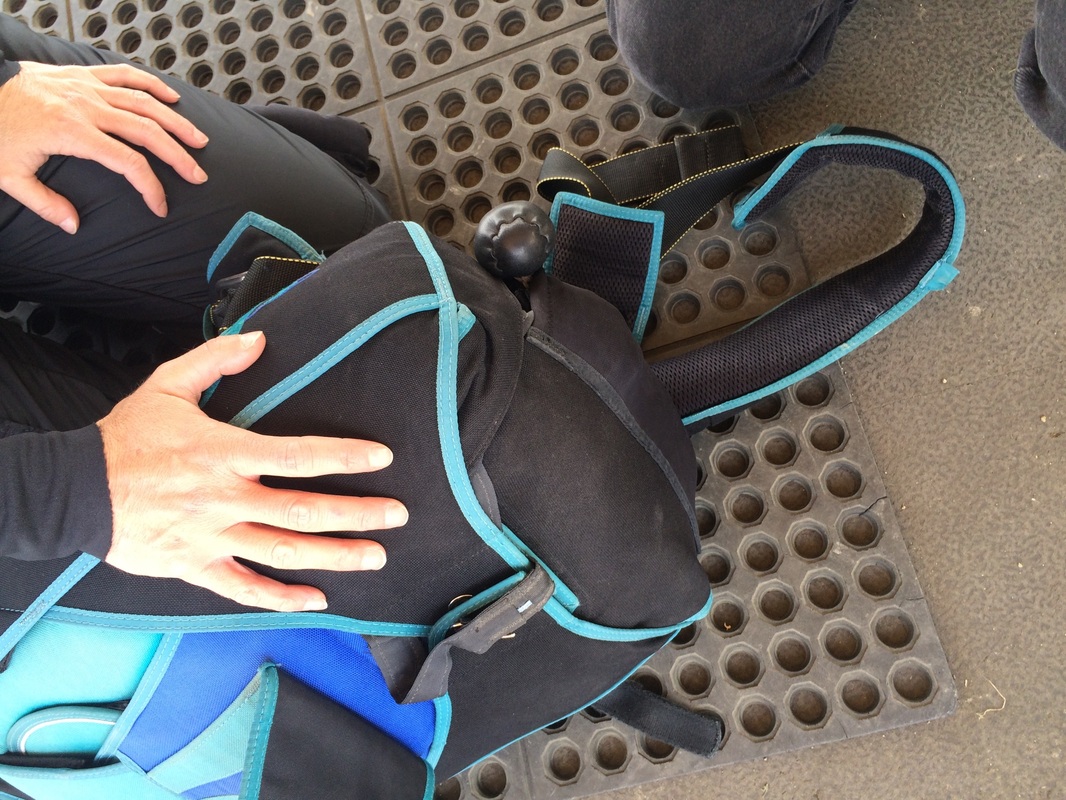
put bag around it

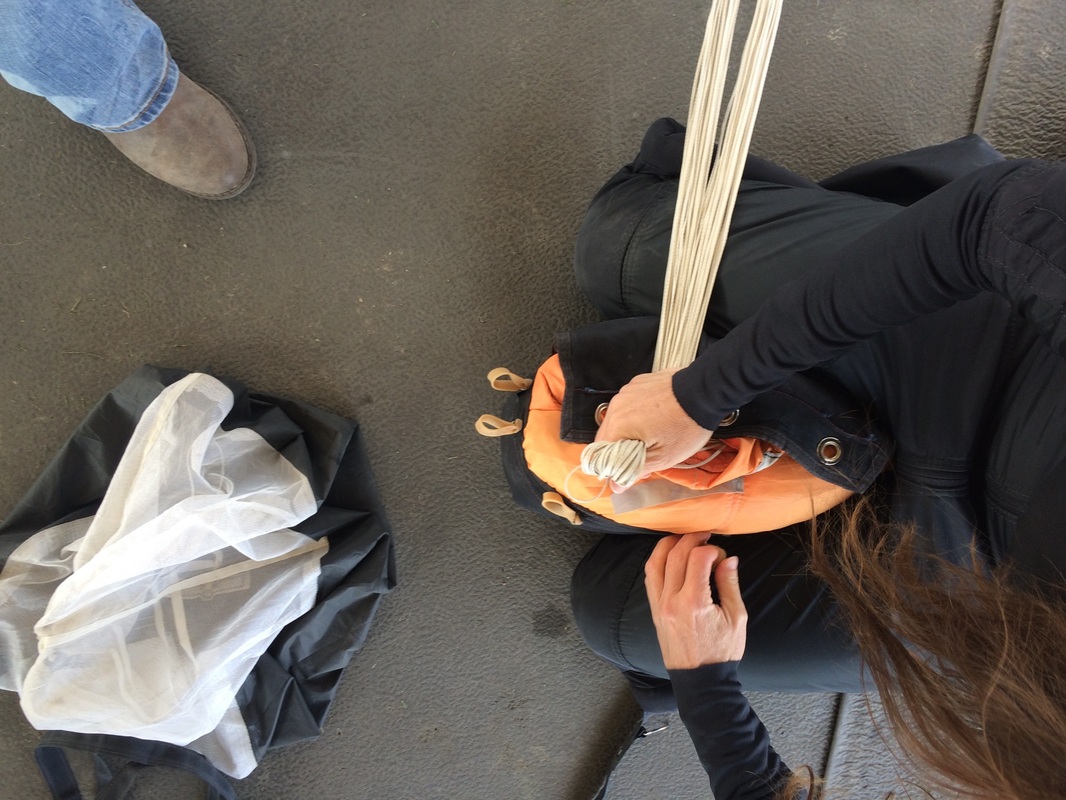
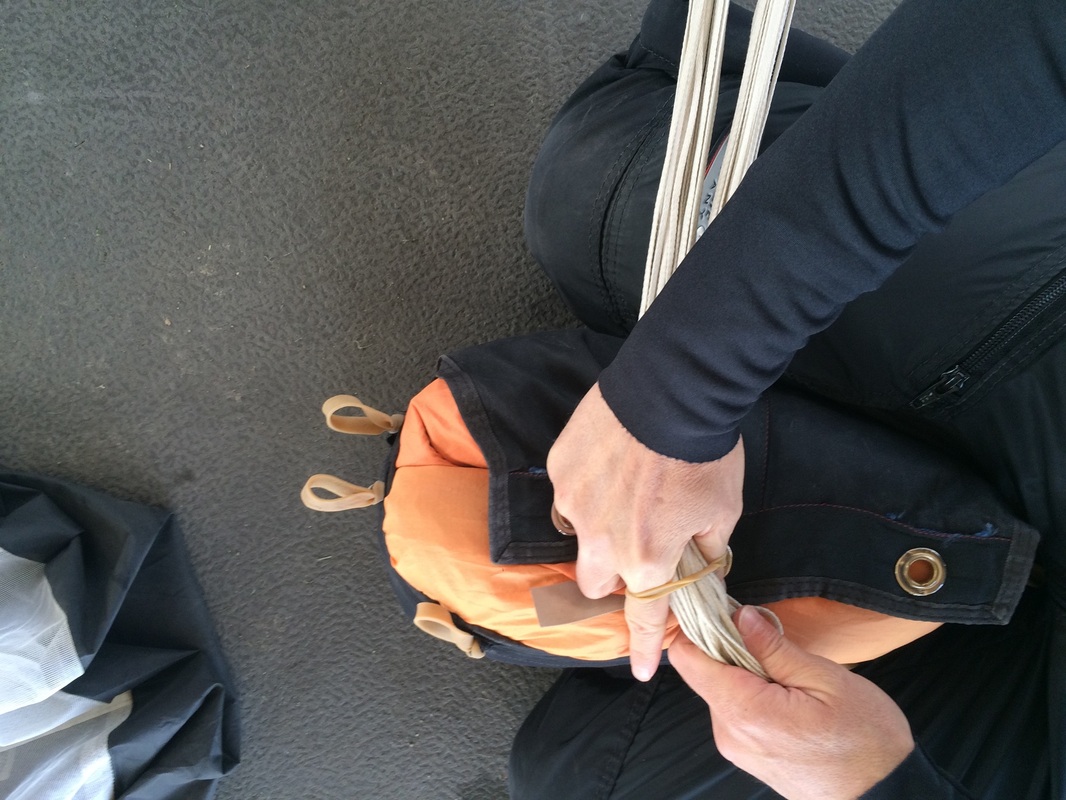
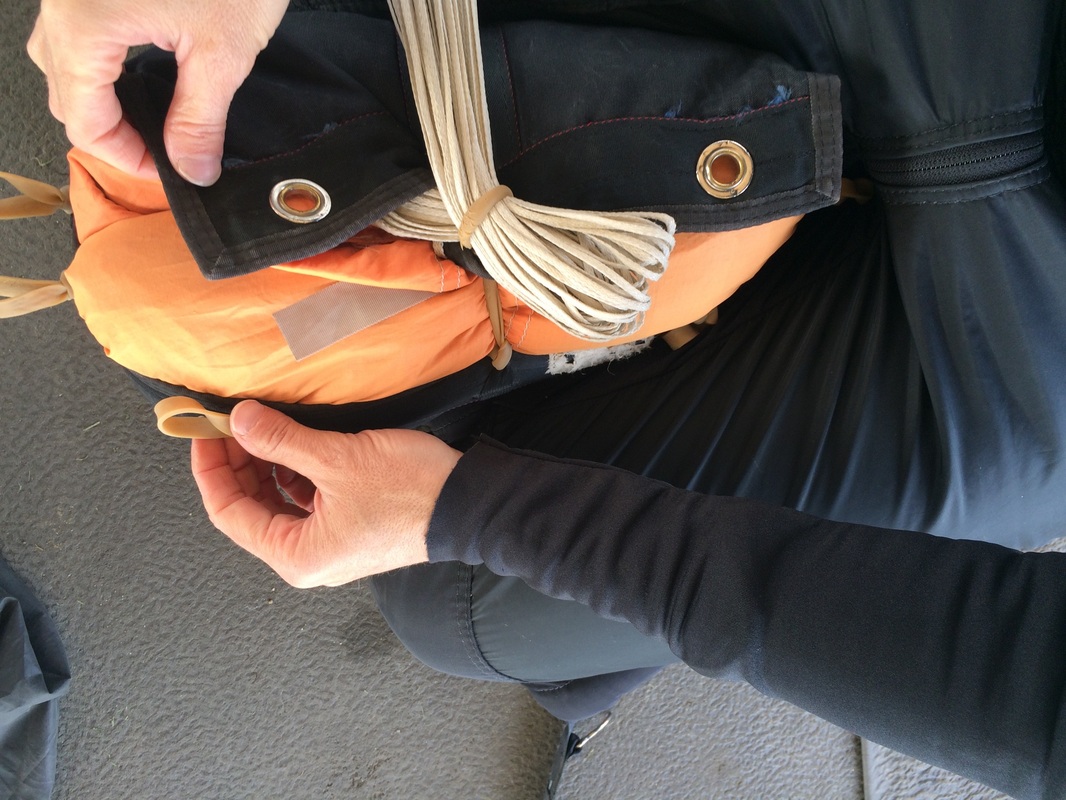
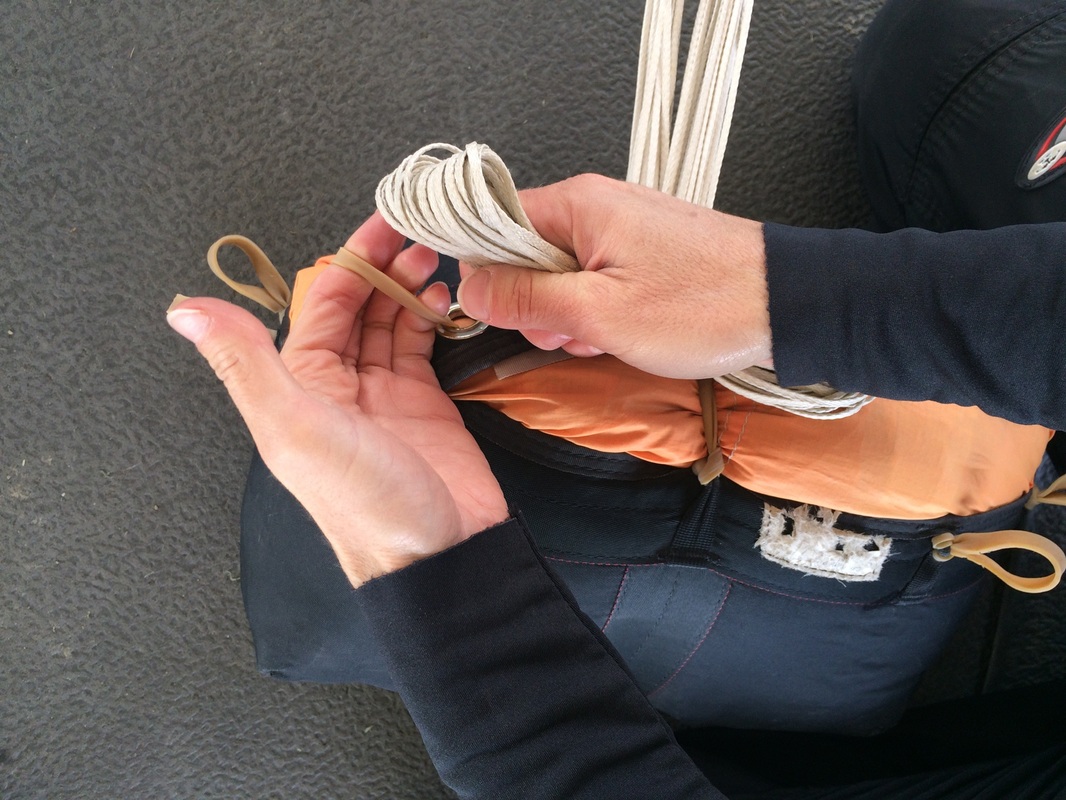
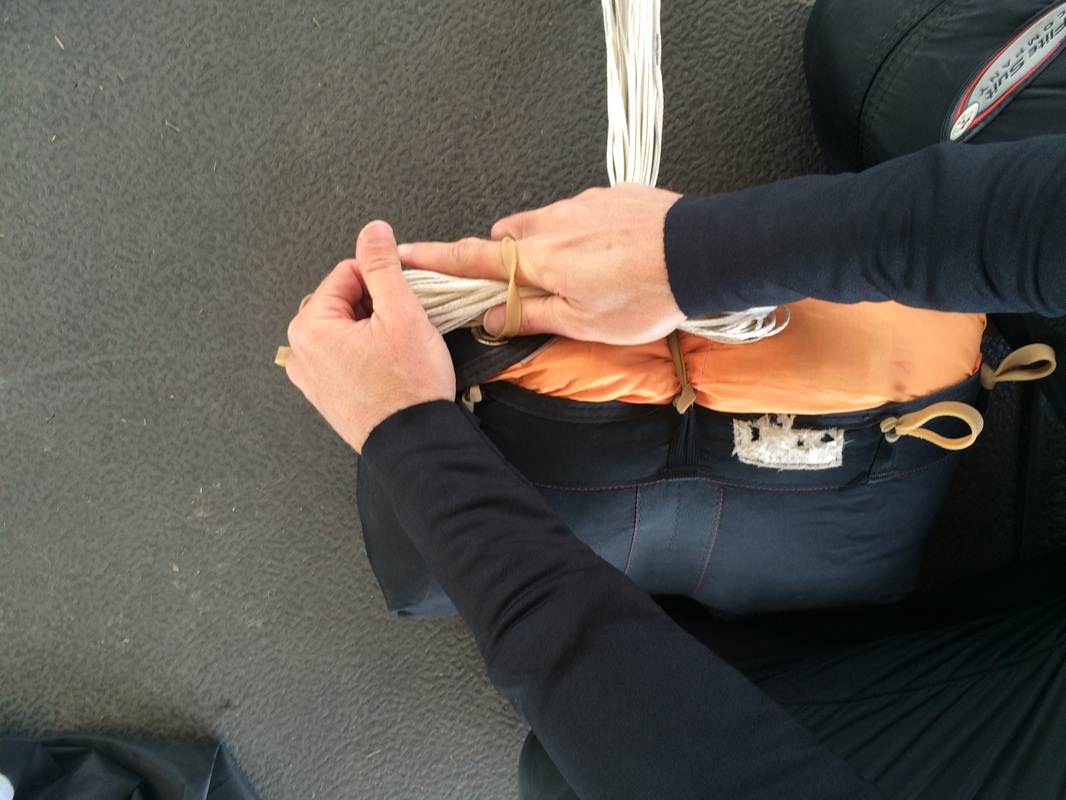
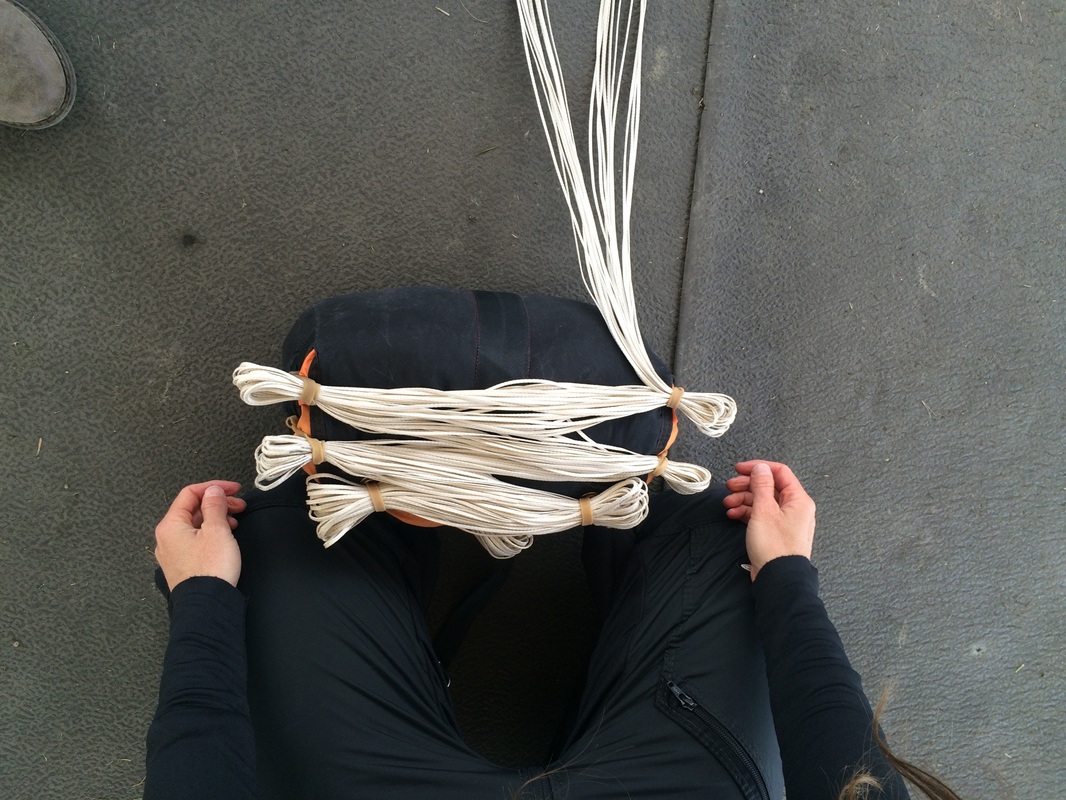
stow lines in bands; start in center, then alternate side-to-side
( leave minimum 18 inches of loose line )

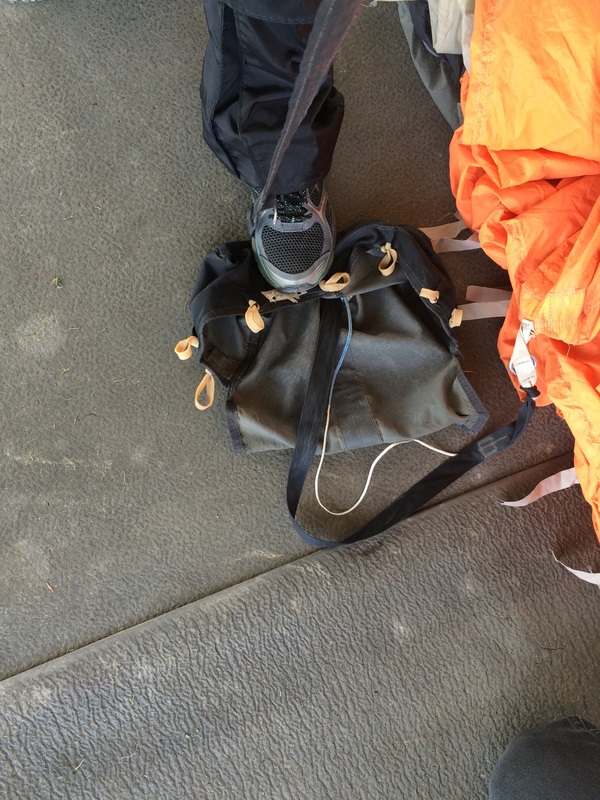
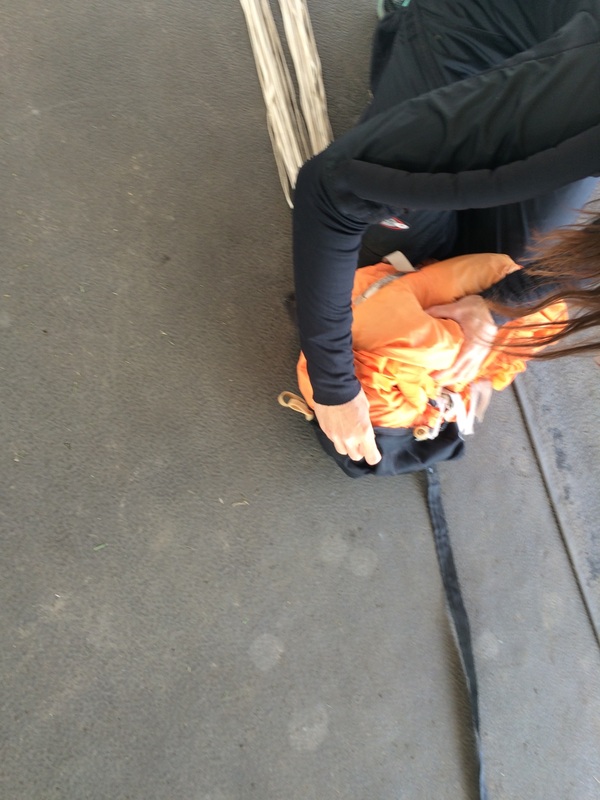
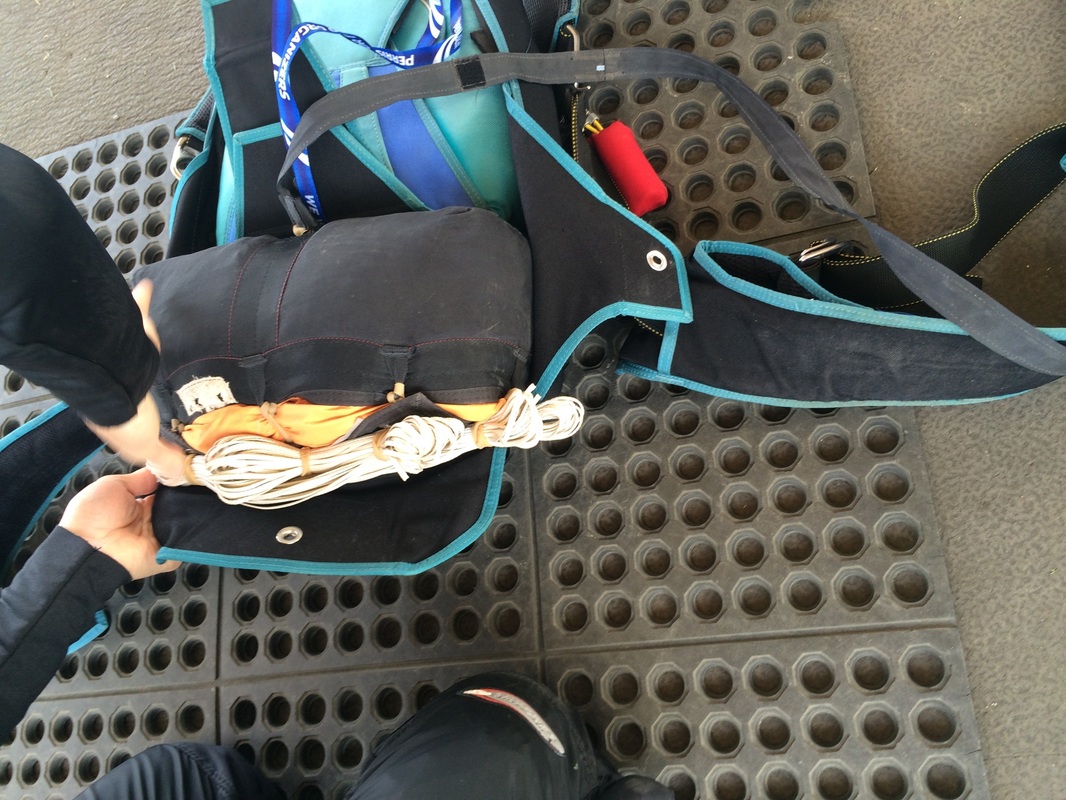
put bag below container
Tip: kneel down on it ( gets air out and rests knees )

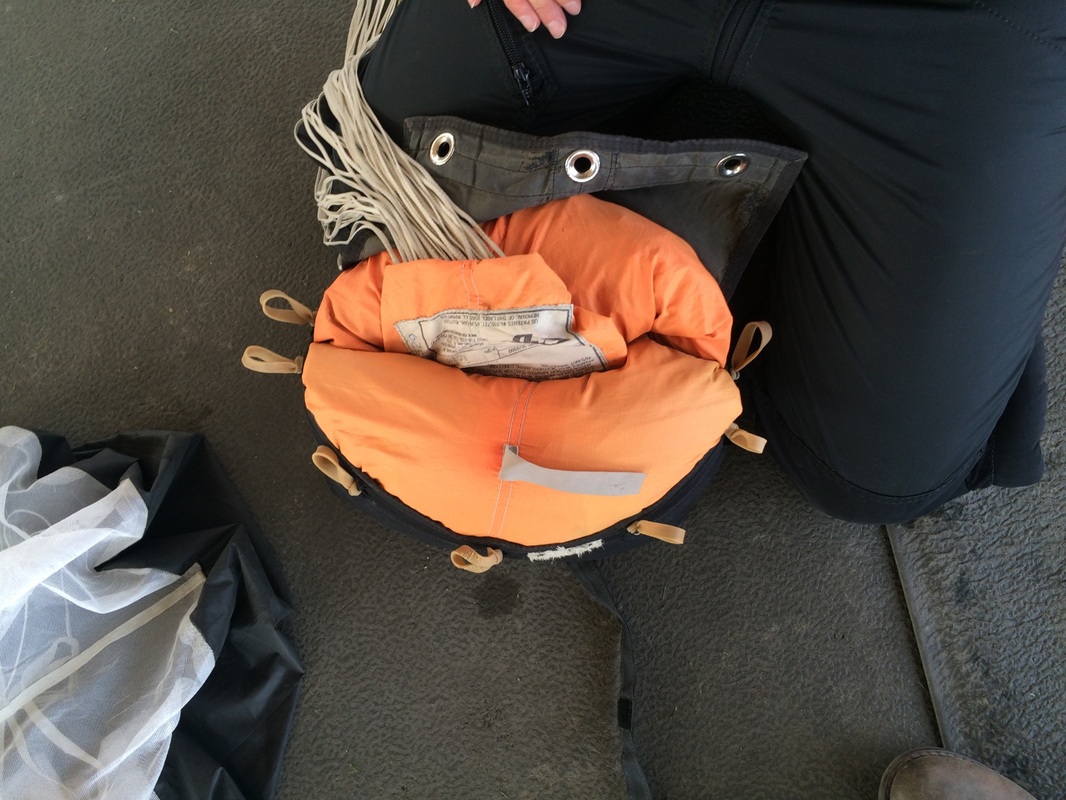
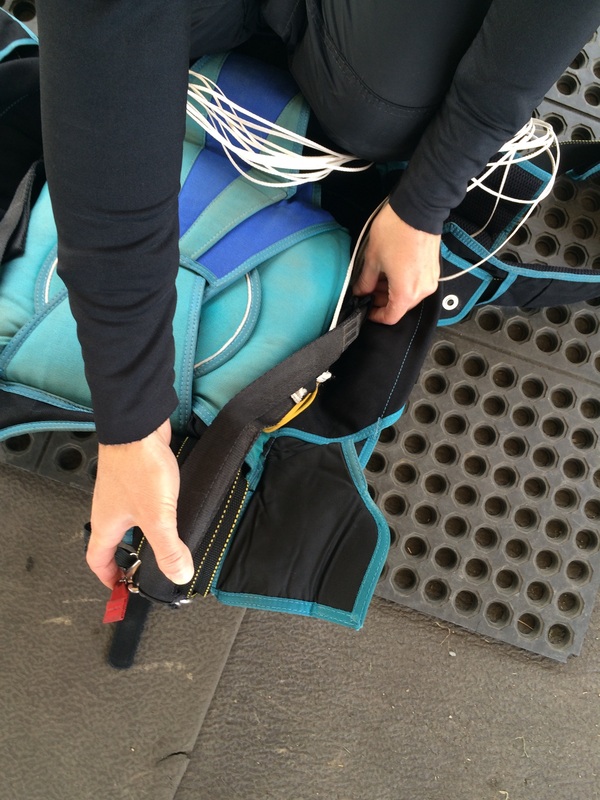
thread pull-up cord through closing loop

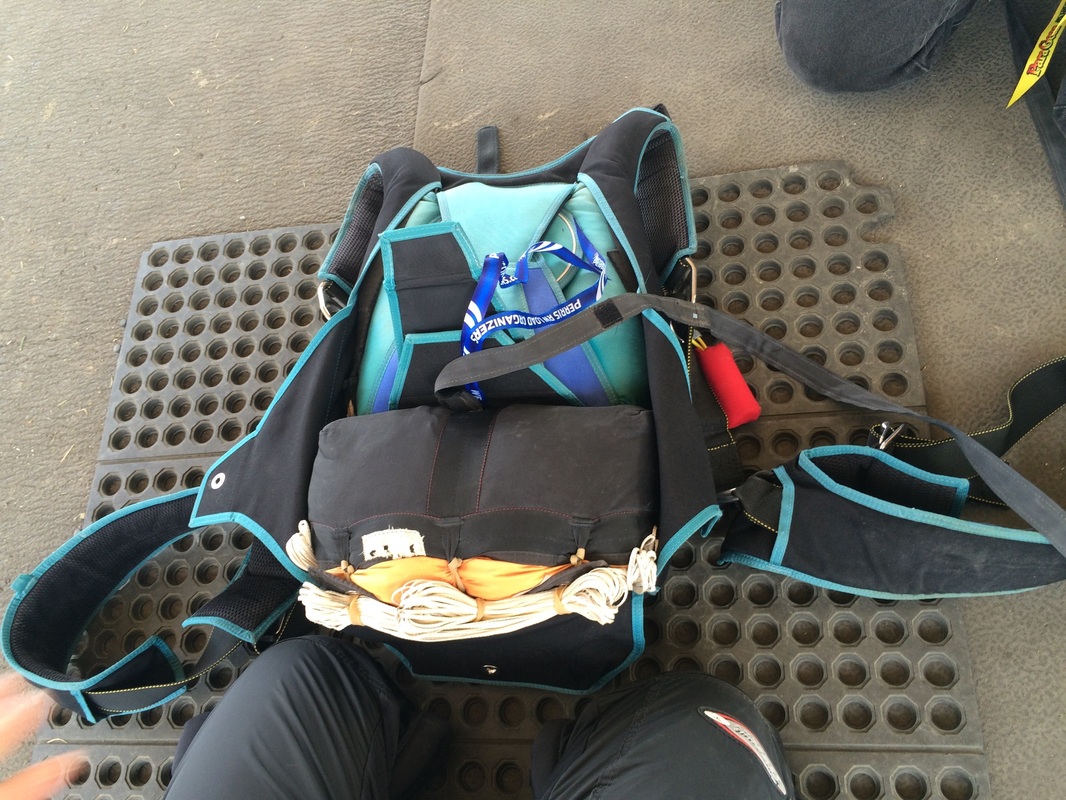
stow risers and rotate bag into pack tray


close flaps in correct order:
most rigs: bottom-top-right-left
mirage: bottom-top-left-right
Tip: your knee is stronger than your fingers

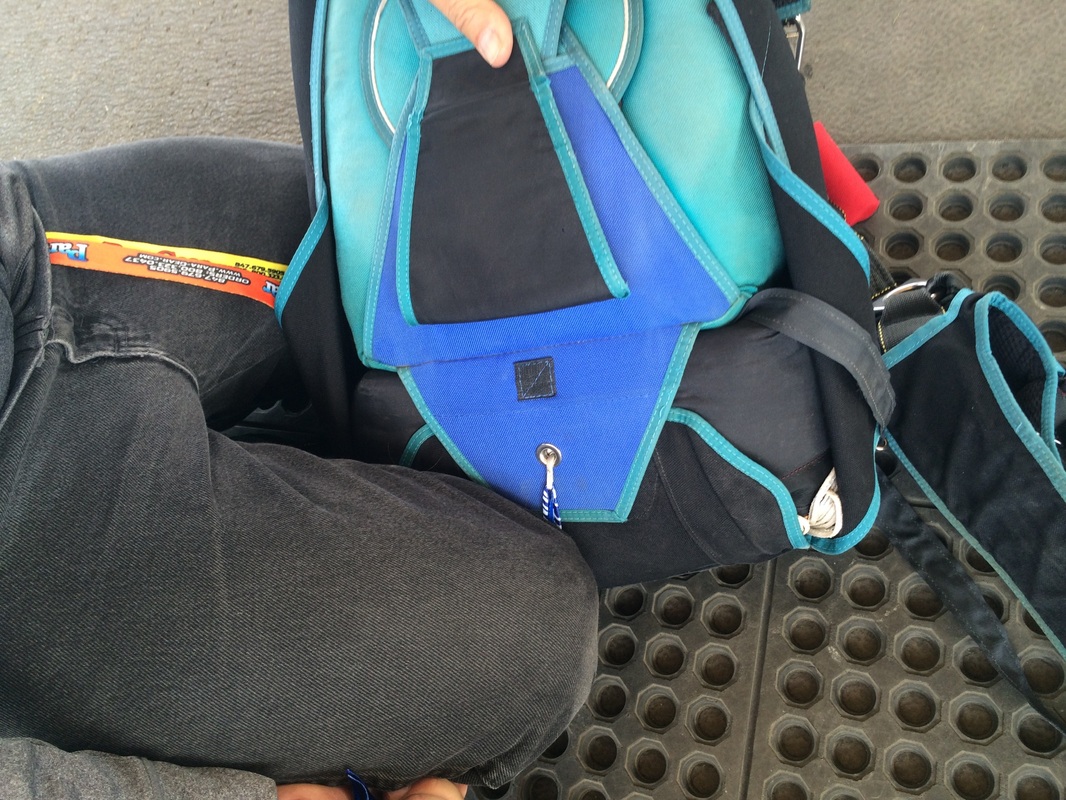
pin through closing loop. Remove pull-up cord ( gently )
observe bridle: pin to pilot chute is clear


fold and stow pilot chute ( tight and smooth is good; DO NOT STUFF )
hit it
( I don't know why, but this seems important to most jumpers )
Other things you need to know:
Wing loading = total suspended weight divided by canopy square footage:
Total suspended weight = you + complete rig + weights (if any)
Note, we typically ignore the weight of small items like gloves, helmets & altimeters
(if they matter, you need a bigger canopy)
divided by
Canopy square footage = the canopy size number (e.g., "210" for a Spectre 210)
a leading parachute manufacturer, recommends not exceeding wing loading as follows:
novice - 0.9
intermediate - 1.0
advanced - 1.1
expert - 1.3
Reserve repack cycle = 180 days This is a date calculator
The FAA considers 180 days to be the maximum time that ANY (main or reserve) parachute may remain packed. After that is must be inspected and re-packed.
A main parachute may be packed by: ( FAR part 105-43 ) subpart "a":
"the person making the next jump with that parachute"
or a certified parachute rigger
or a person supervised by a certified parachute rigger
A reserve parachute may only be packed by:
a certified parachute rigger
or a person supervised by a certified parachute rigger
This is a summary checklist of all of the above:
MAIN CANOPY ATTACHMENT-
. lay rig face-down
. drop canopy about 10-12ft away
. un-chain the lines and stretch them toward the rig
. find the center of the tail of the canopy (label)
. follow the tail to a brake-line
. keeping the brake-line on top, follow it to the riser, untangling as you go
. untangle and attach riser - like a snowman:
( middle through big, small through middle, loop through small ring, riser, and
cutaway housing ring.Cable through loop, into riser )
. repeat for the other side
. attach RSL (if so equipped)
. attach d-bag/pilot chute
PACKING-
. stow Brakes ***Important***
. separate line groups
. run lines up ( if tangled, fix it; if you need help, ASK )
. shake it vigorously
. hang over hook (if using hook)
. un-collapse Slider ***Important***
. move slider out of the way
. count and clear nose cells (7/9)
. count (3/4) A lines (on one side) Push fabric away from center
. count (3/4) B lines (on one side) Push fabric away from center
. count (3/4) C lines (on one side) Push fabric away from center
. count (3/4) D lines (on one side) Push fabric away from center
. repeat on other side
. quarter slider
. clear stabilizers
. bring brake-lines to the center
. for slower openings, roll the nose
. wrap the tail
. lay it down
. un-collapse the Pilot Chute ***Important***
. burrito wrap and squish flat to just wider than the bag
. s-fold
. put bag around it
. stow lines in bands; start in center, then alternate side-to-side
. ( leave minimum 18 inches of loose line )
. put bag below container
. thread pull-up cord through closing loop
. stow risers and rotate bag into pack tray
. pull container flaps around bag
. close flaps in correct order:
most rigs: bottom-top-right-left
mirage: bottom-top-left-right
. pin through closing loop.Remove pull-up cord ( gently )
. observe bridle:pin to pilot chute is clear
. fold and stow pilot chute ( tight and smooth is good; DO NOT STUFF )
. hit it ( I don't know why, but this seems important to most jumpers )
MAIN CANOPY UN-ATTACHMENT-
. lay rig face-down, canopy way from it
. remove d-bag & pilot chute
. gather up all nose cells and lift high, then flop canopy on it's side
. use packing tabs to smooth
. squish air out
. roll/fold to center ( mostly)
. Un-attach RSL ***Important***
. pull cut-away handle
. daisy chain lines & plop into canopy
. finish canopy roll